Bathroom
The Before...
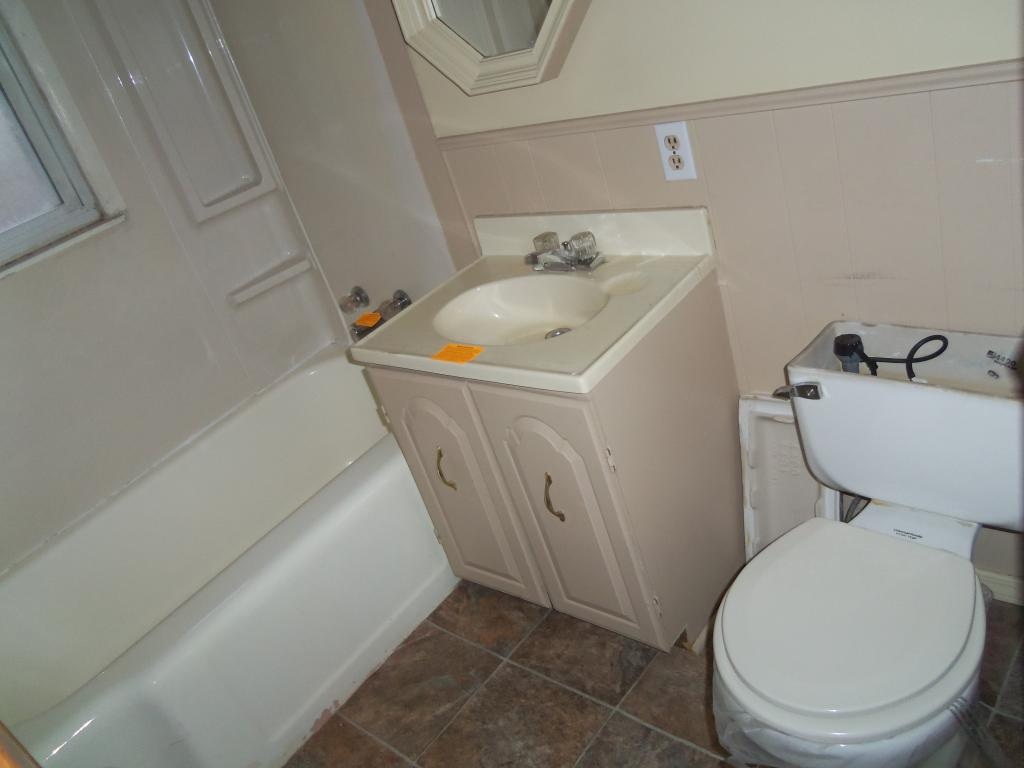
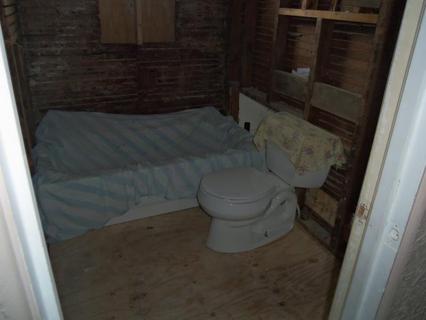
This bathroom was advertised as "updated," I suppose because it's not still from 1920. It has a rotted subfloor, leaky plumbing...
|
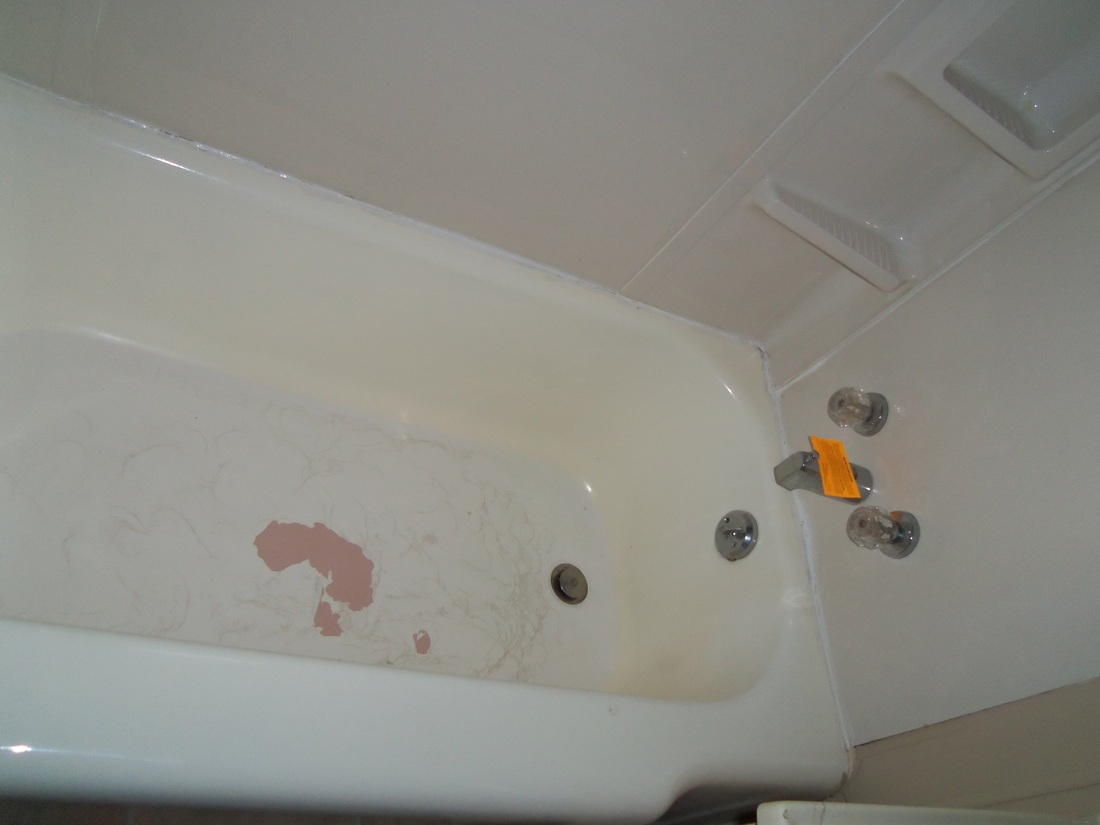
...a pink tub that's been enameled white, and a cheap surround. It's all coming out.
|
The plan...
Full gut, down to the plaster and floor joists.
Replace subfloor (and joists, as needed).
Replace all plumbing, including supply lines and drains.
Swap position of vanity and toilet
Either remove window or replace it with a smaller one.
New tub with tile surround
Heated tile floors (yeah, we're spoiled from living in Weedy Acres)
Built in closet or drawers in the wall opposite the vanity (will be inside closet of adjacent room)
Some kind of built-in medicine cabinet
The demolition...
In addition to all the plumbing and floor issues detailed below, an exploratory attic crawl revealed that:
- The vent pipe terminated inside the attic, not above the roof.
- The ceiling was a drop-down drywall job that covered up the original plaster ceiling.
- The exhaust fan emptied air into the space between the drywall and plaster ceilings.
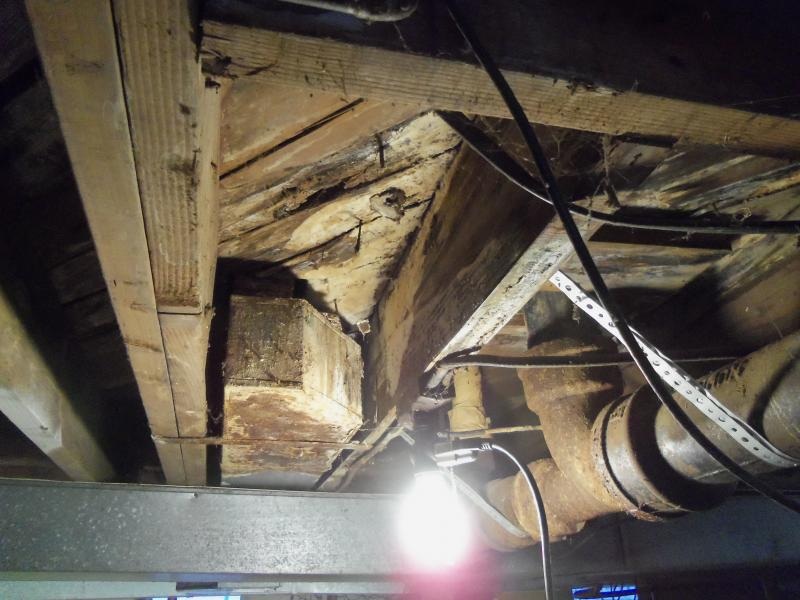
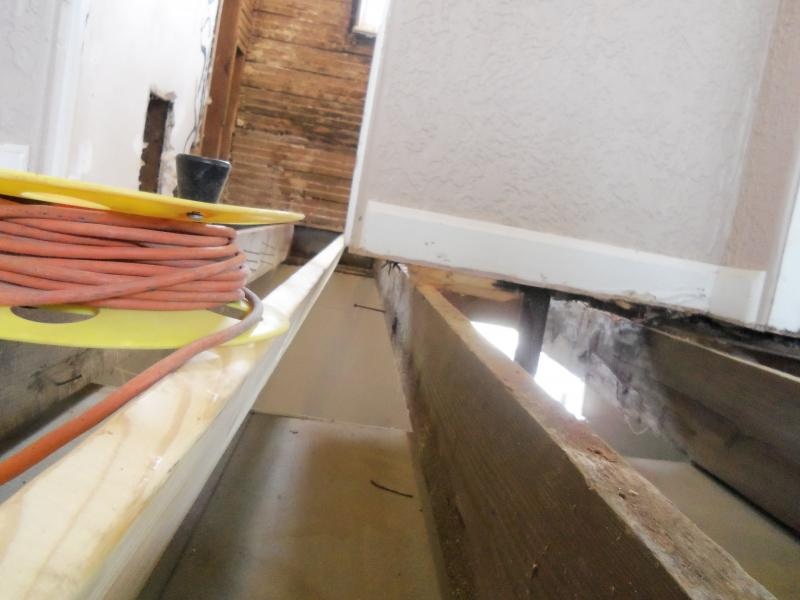
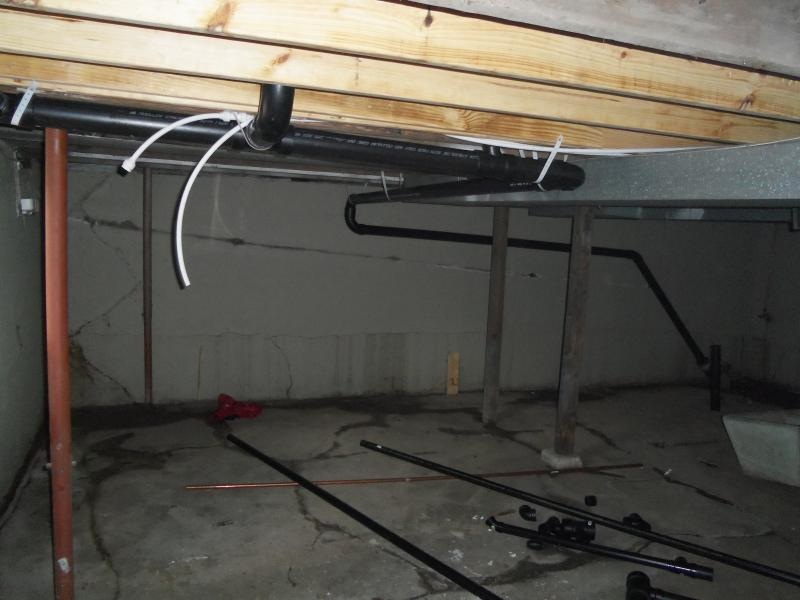
From the bottom: a "before" view of what lurks below the bathroom floor. It leaked without much prompting.

From above: The plastic surround peeled off the drywall easily, but the cast iron tub was wedged in place. We had to demolish all the surrounding wall and flooring to pry it loose
The tub sat on the original hardwood, which was undamaged. There was an extra layer of wood on the rest of the floor, which had boxed it in.
|
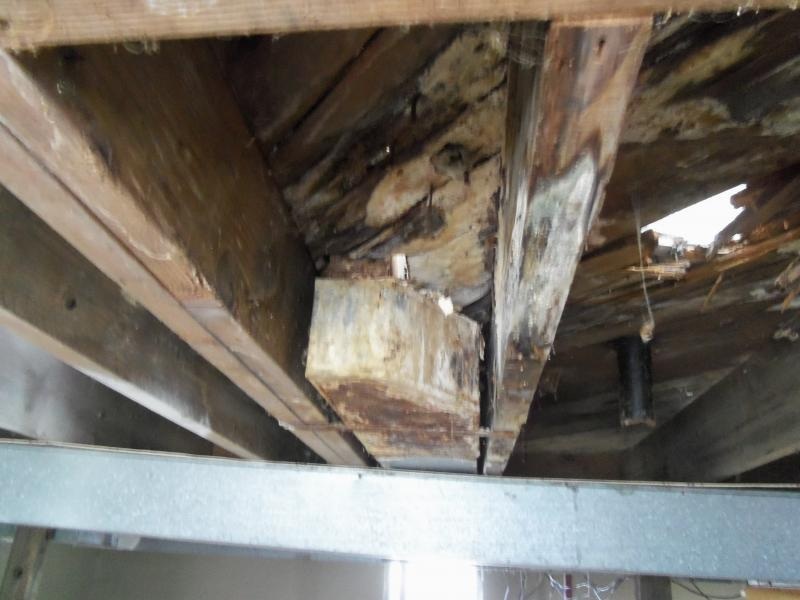
From the bottom: we removed the old plumbing, exposing the rotted-out underbelly of the bathroom floor, some damaged floor joists, and a corroded/rusted HVAC vent going into the adjoining bedroom.

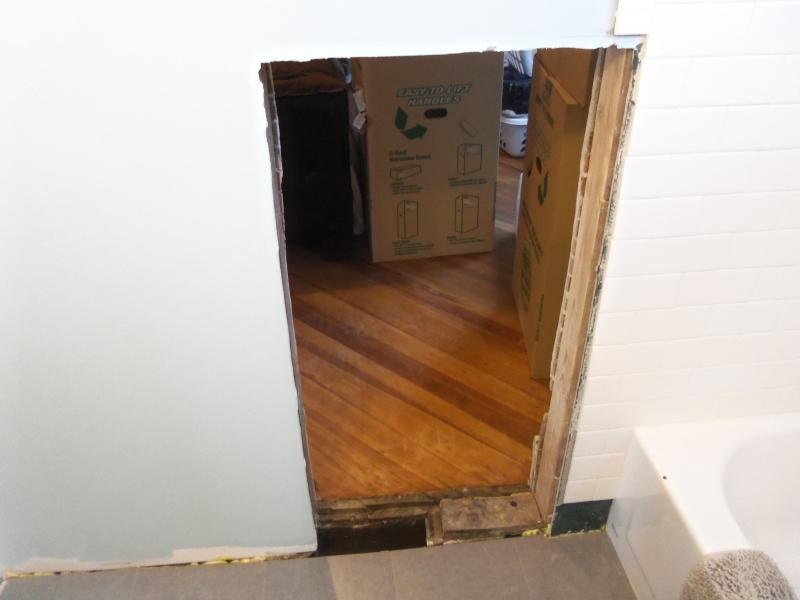
And then knock a hole in the adjoining closet to pull the tub out of the room.
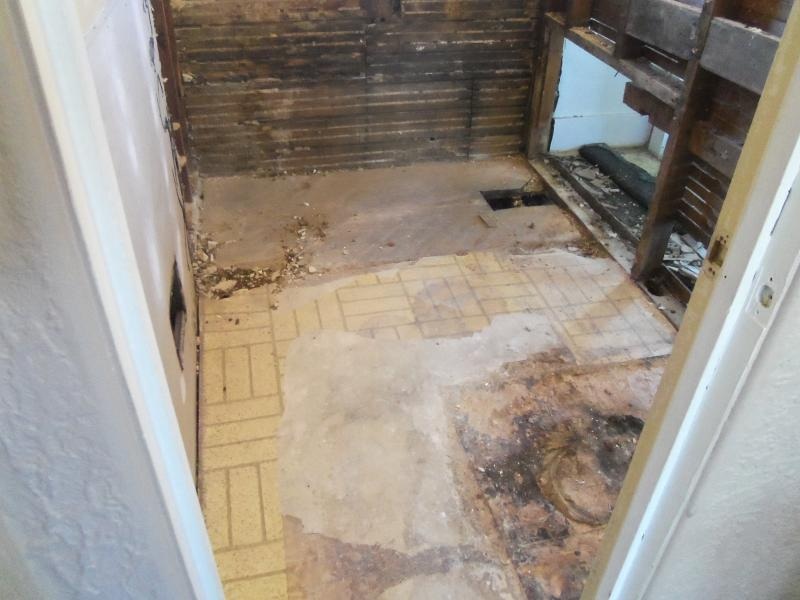
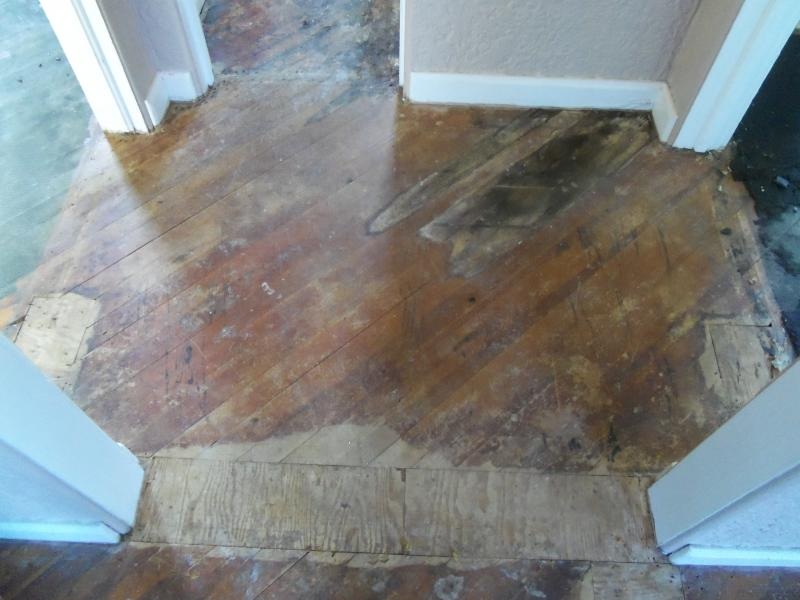
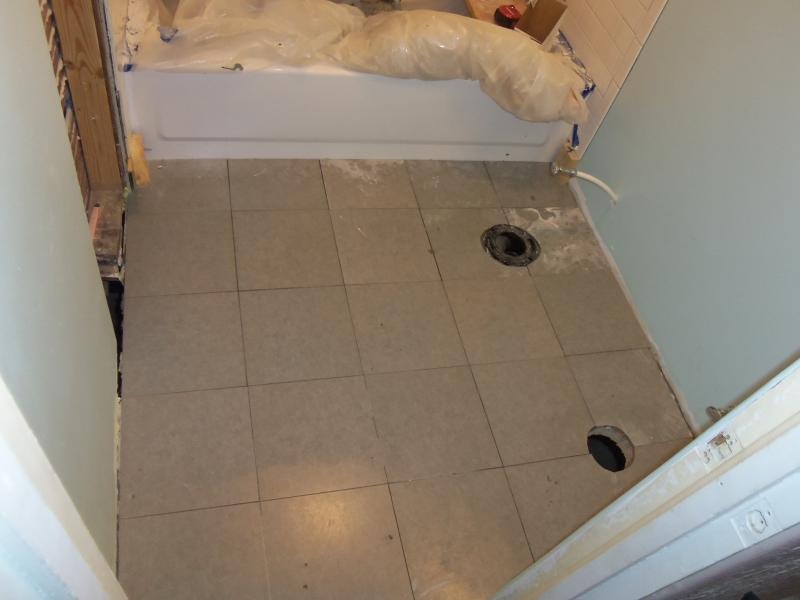
The floor after the 2 layers of vinyl and particleboard were removed. There's water-damaged hardwood, with some plywood in the toilet area.
|

We set to work removing the undamaged hardwood to use in repairing the living room floor. It's careful surgery when you're trying to preserve it. It worked best when removed from the tongue side, gently prying up 2 boards at a time, then pulling the front one off from the tongue behind.
We decided to tear out the hall flooring as well, because we didn't have enough "spare" boards to fix it along with the living room.
|

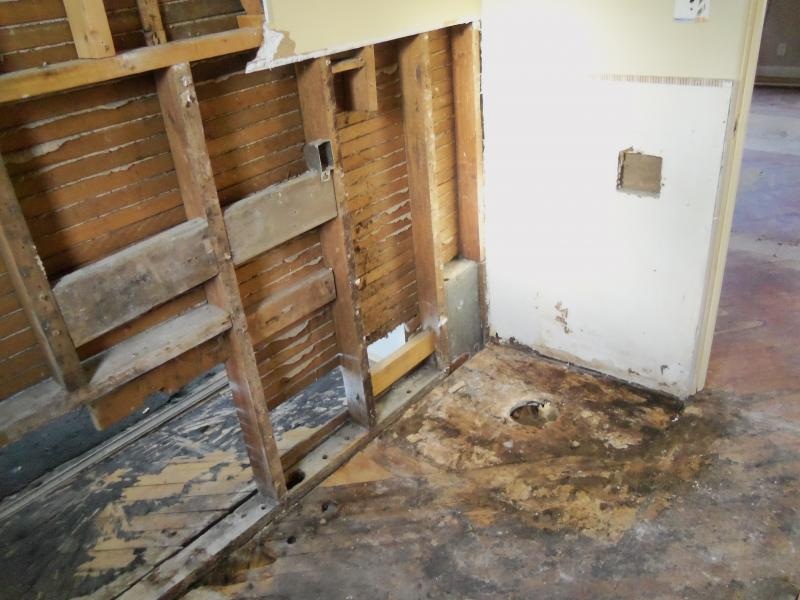
Here's what was underneath the hardwood. We tore out the 1x10 subfloor, rotten in the toilet area and hole-y and cracked in others.
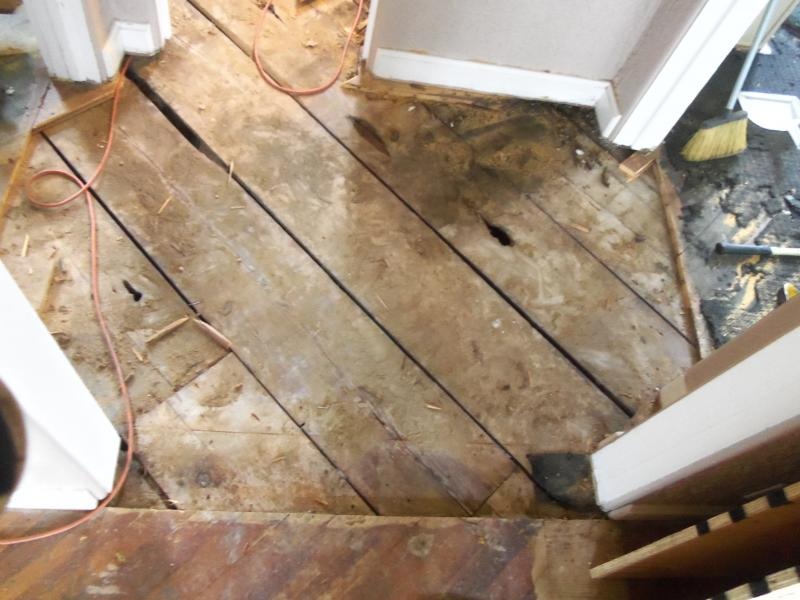
It turned out to be a good move, as the subfloor was pretty rotten in the water-damaged area.
|
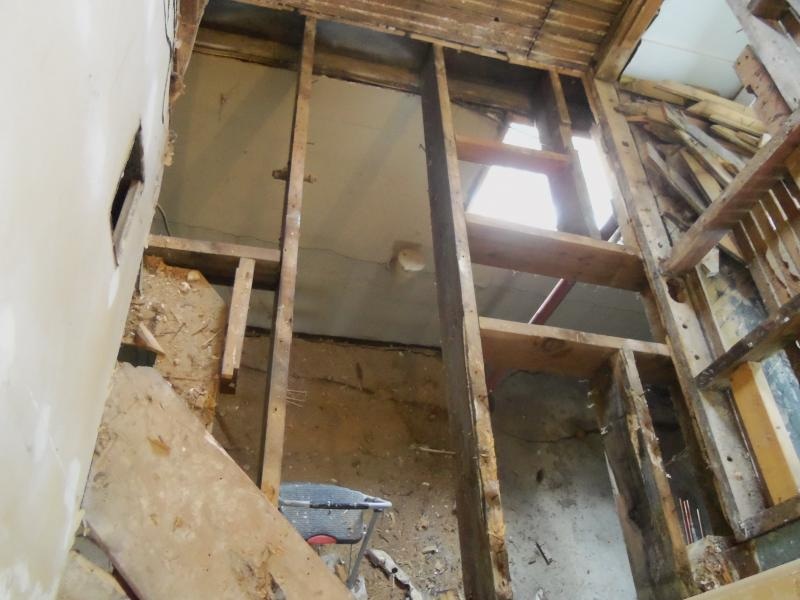
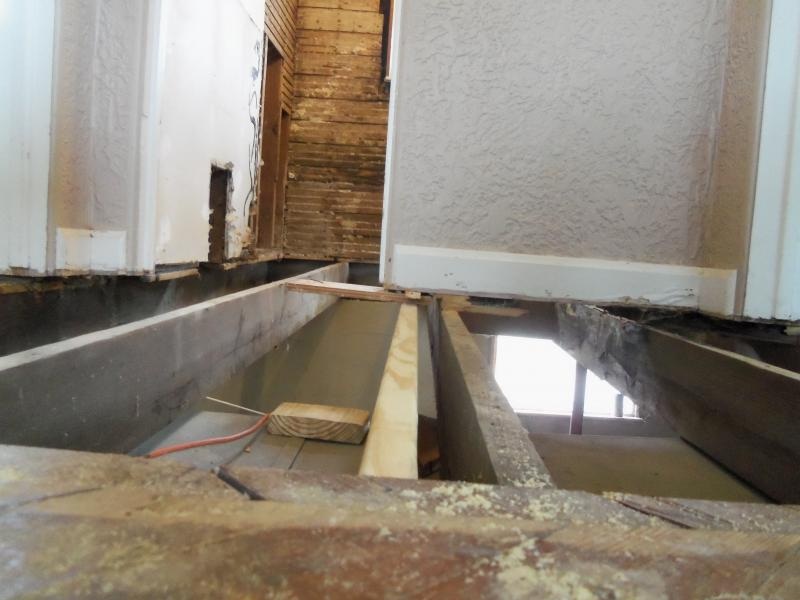
The ribs exposed: the joist on the left was fine, but the other 2, along with that laddered cut-in stuff, were disgusting with all the toilet rot.
The subfloor and the hardwood both extended underneath the wall. It was (surprise!) rotten, so we carefully cut it all out from below except for the portion resting on one of the rotten joists, so as not to leave the wall floating in mid-air.
|
The Rebuilding
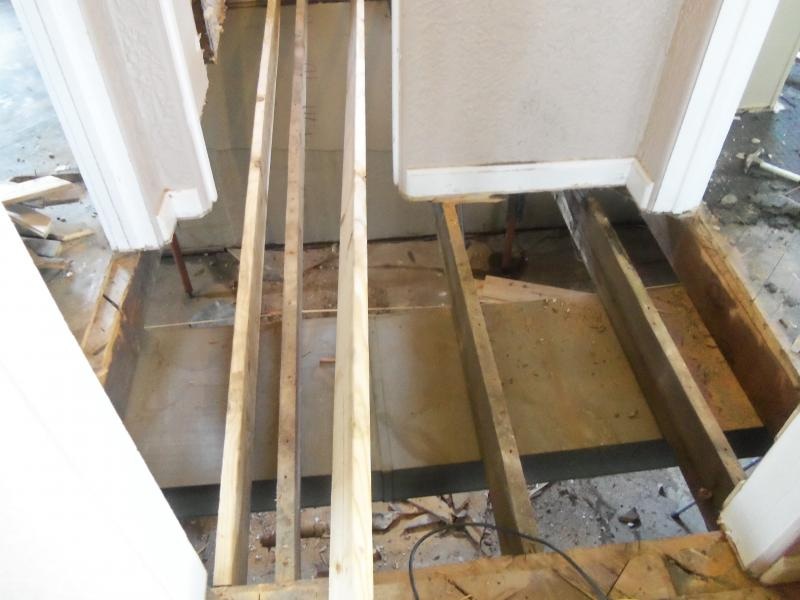
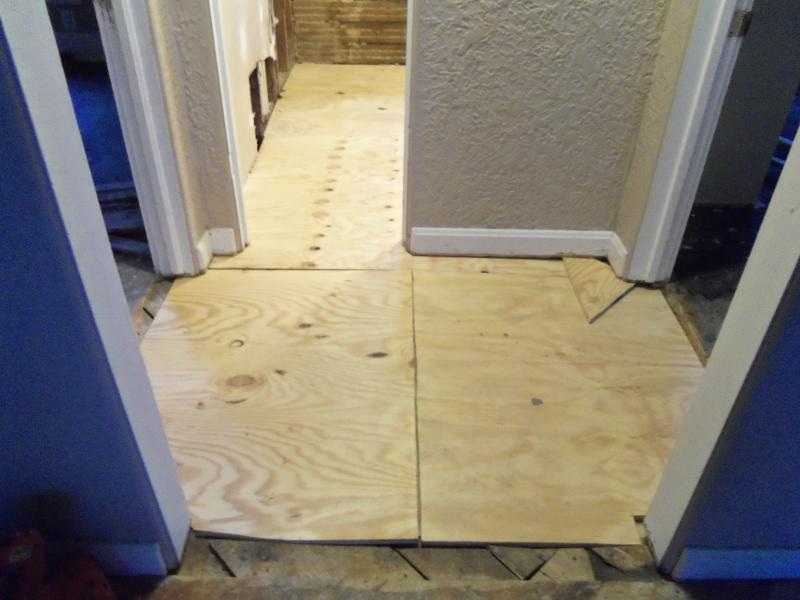
The replacement surgery, step 1: keep wall supported on rotting joist
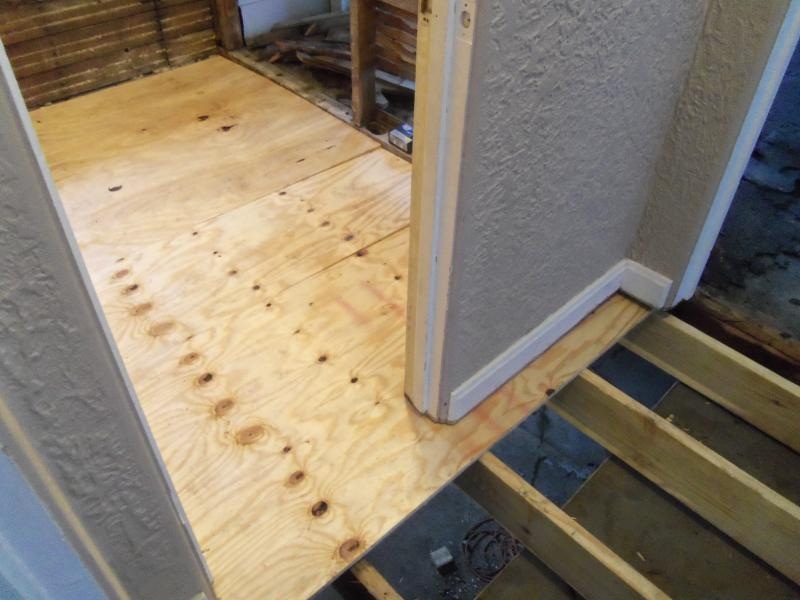
Step 4: Slide plywood underneath the suspended wall, bumping out the temporary shimming and providing full support.
|
Step 2: bring new joist under wall, shim it up to provide temporary support.
Finally, a solid floor! The right half slopes down to the right a bit, but shimming it up would make it higher than the adjoining bedroom, so we just shimmed in some wall support.
|
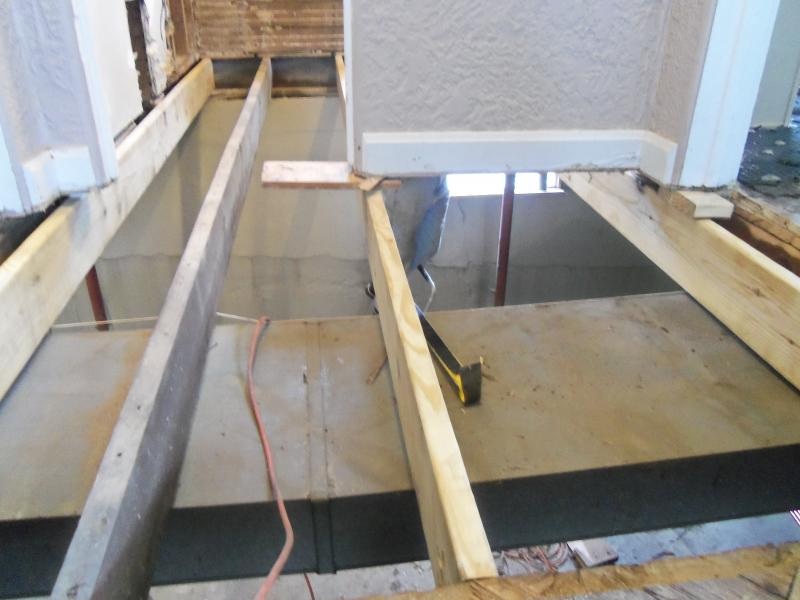
Step 3: Remove bad joists, install new ones. 5 joists total, including 2 on the sides to support the edges of the plywood, plus some sistered pieces to support the bathroom side walls.
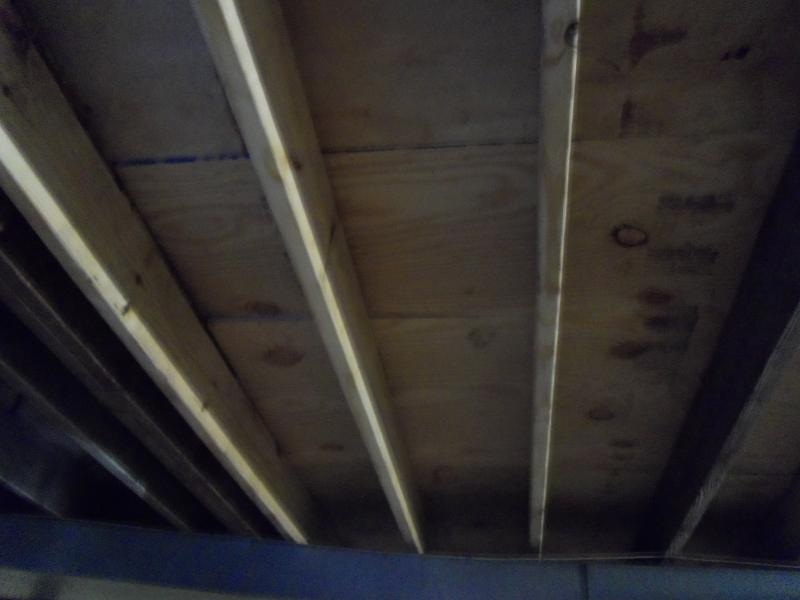
From below: What a difference clean wood makes!
|
The beautification...
|

|
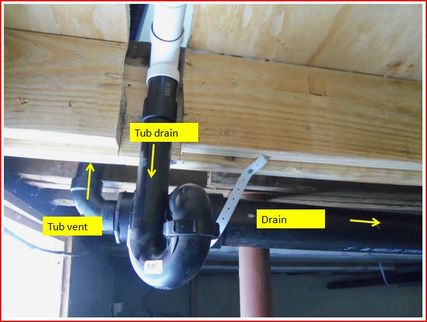
Next up: new drain and vent lines, this time going all the way out the roof instead of just into the attic.
|
|
|
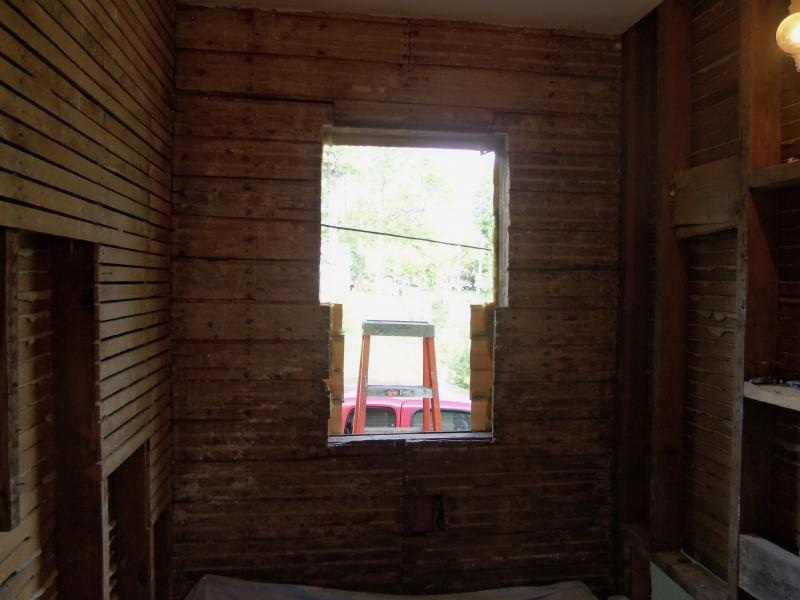
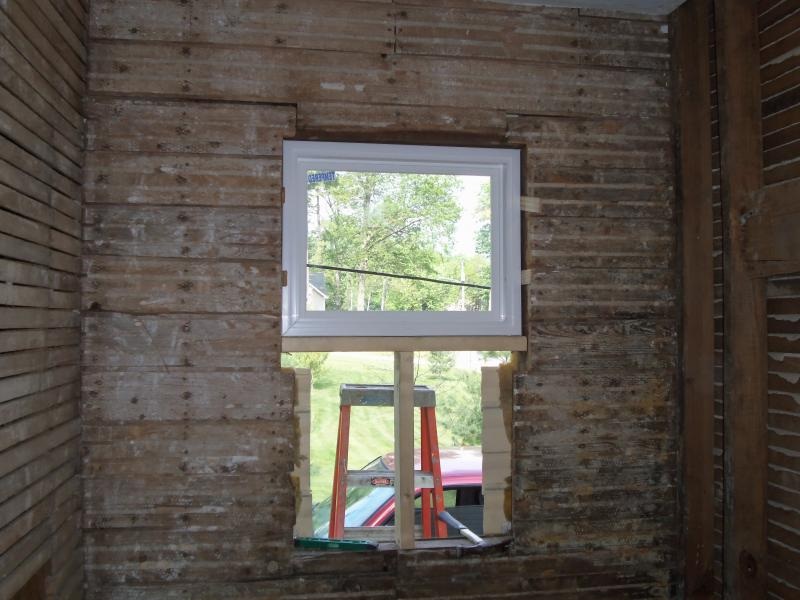
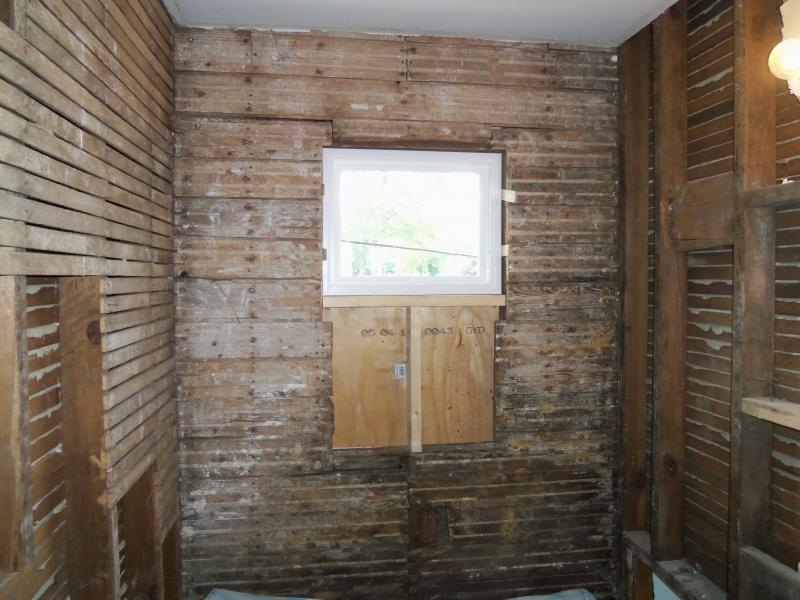
Out with the old window and in with the new, to create a bit more privacy. Plain Jane fixed pane, tempered glass.
|
|
Then the bathroom plumbing completed and toilet installed so we no longer need to hop in the car and drive to the nearest gas station when nature calls.
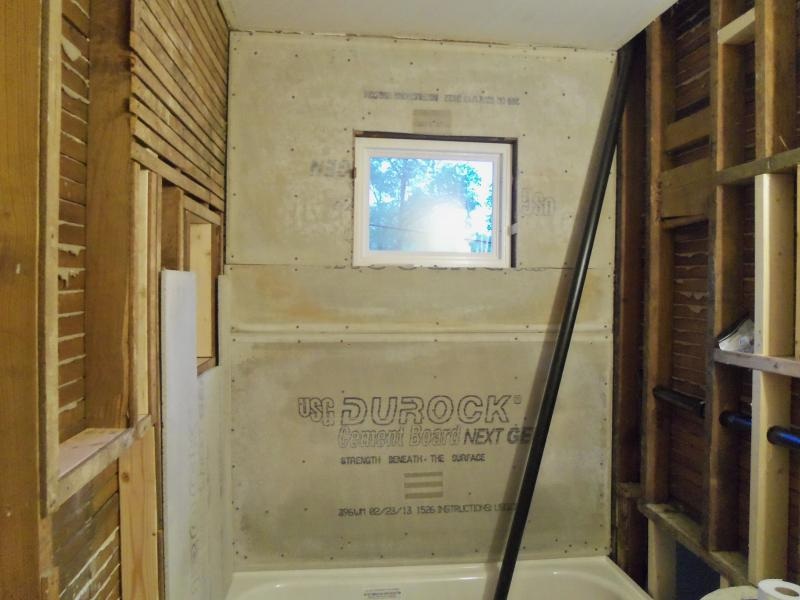
Up goes the cement board.
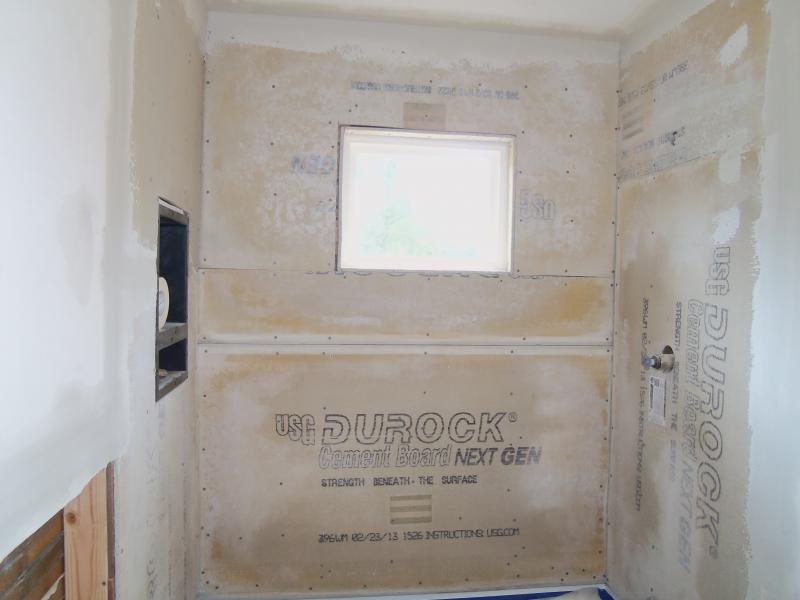
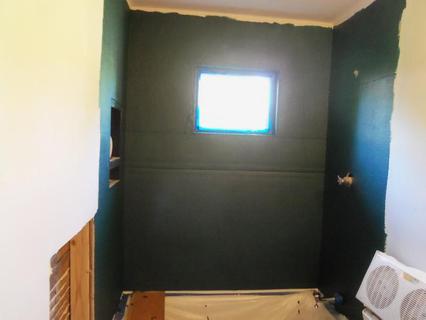
The room all cement boarded and DensArmour-ed.

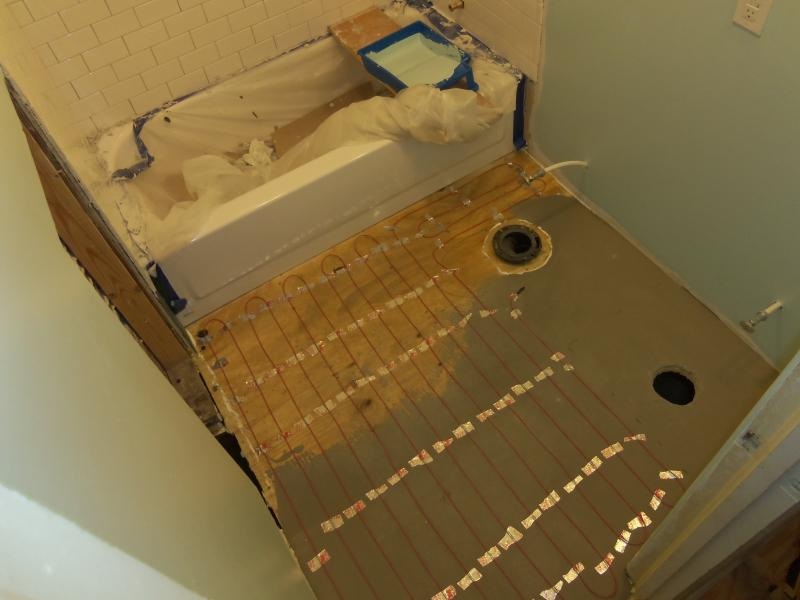
Mustn't leave out the wiring for the heated floors. We've gotten spoiled. :-)
And the finished, grouted floor. Just a simple gray porcelain.
|
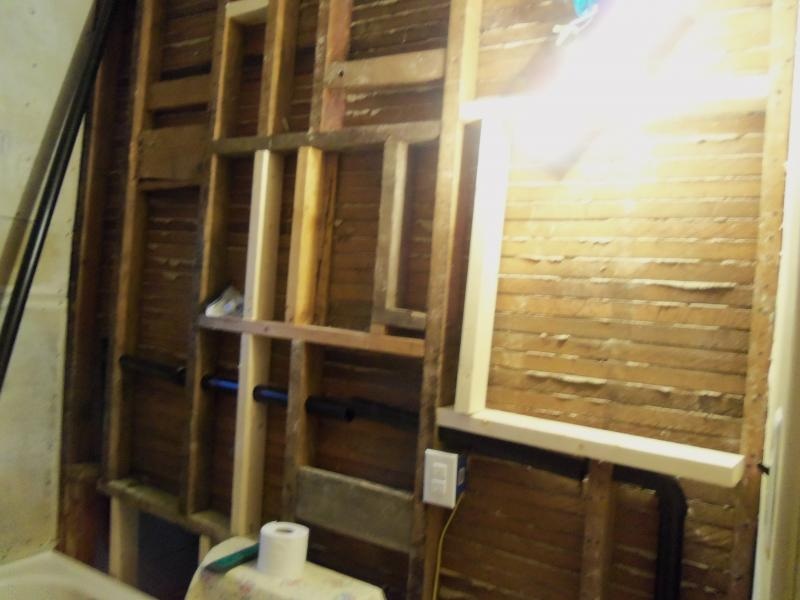
Vent pipe connection in, and wall framed out for cement board and drywall. The local (small) Lowes doesn't carry DensArmour Plus, so we'll have to import some next time we're in a larger city.
And the tub area waterproofed with Mapei AquaDefense.
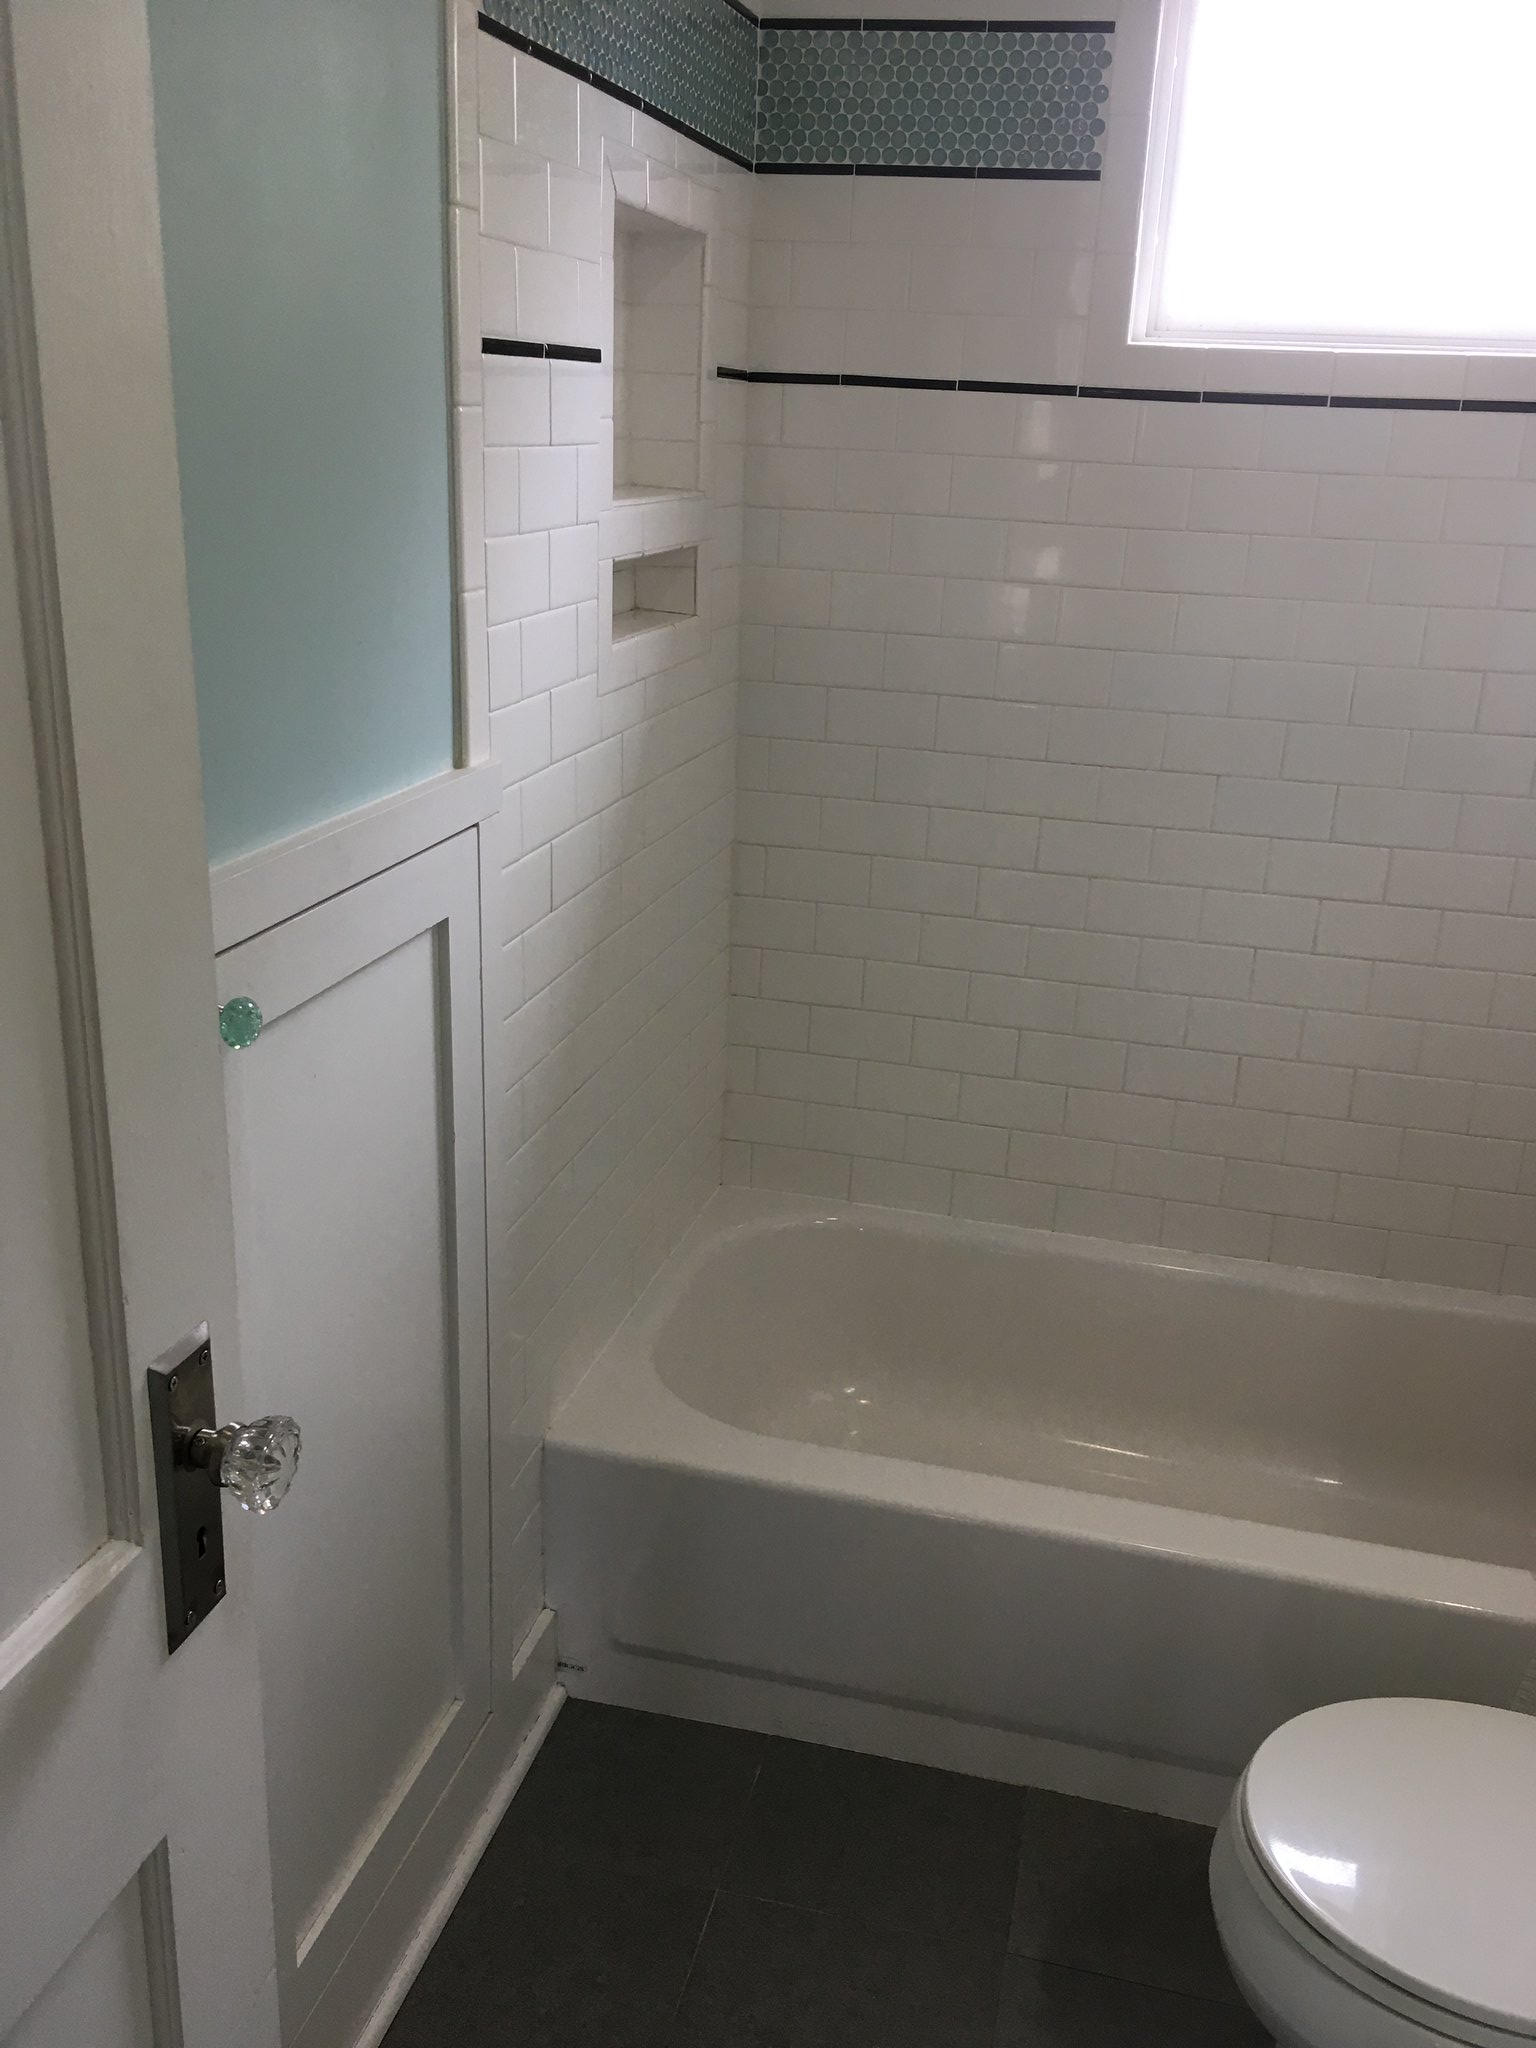
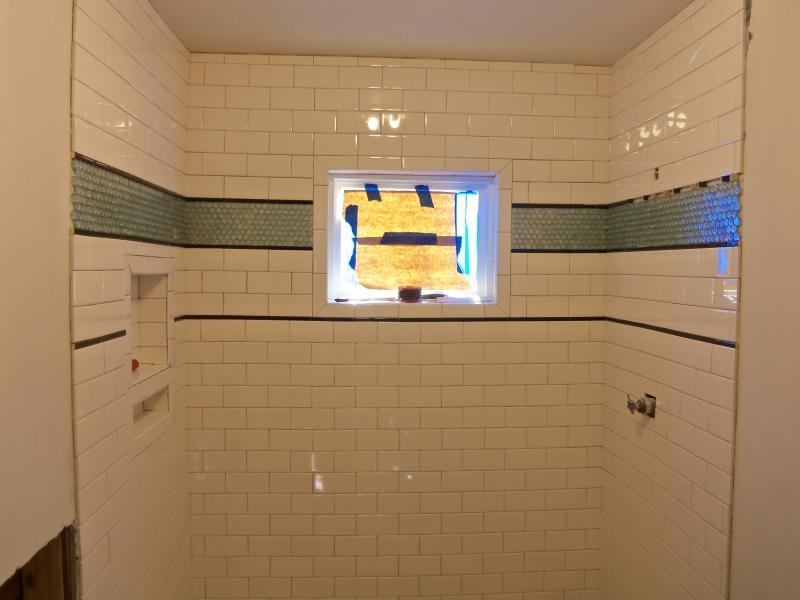
Two Saturdays and four evenings of tiling produced this result. The biggest layout challenge: cutting the small subway tiles into the niche, ensuring they lined up with the adjacent rows. Lots of itty-bitty cuts. Of course then, because we didn't do the pencil liner into the niche, the top couple rows didn't line up. Oh well.... The glass penny round tiles came from ebay, and we've got a lot left (had to buy a whole box), so we may need to figure out somewhere else to use them. The bathroom floor wasn't level, and sloped a little towards the door and a lot towards the lower right hand corner. That won't do for tiling, so we used self-levelling compound to level it out.
We started by spraying Great Stuff foam in the cracks at the base of the floor and around the toilet flange, and once it was dry, slicing it off even with the walls. For good measure, we caulked in front of the foam. Then we mixed up a 50-lb bag of SLC, poured it into the low spot, and it really did pretty much level itself uphill on the wood. We trowelled it a bit because it had a rounded front edge, but when it dried we put a level on it and it was spot on or very very close. 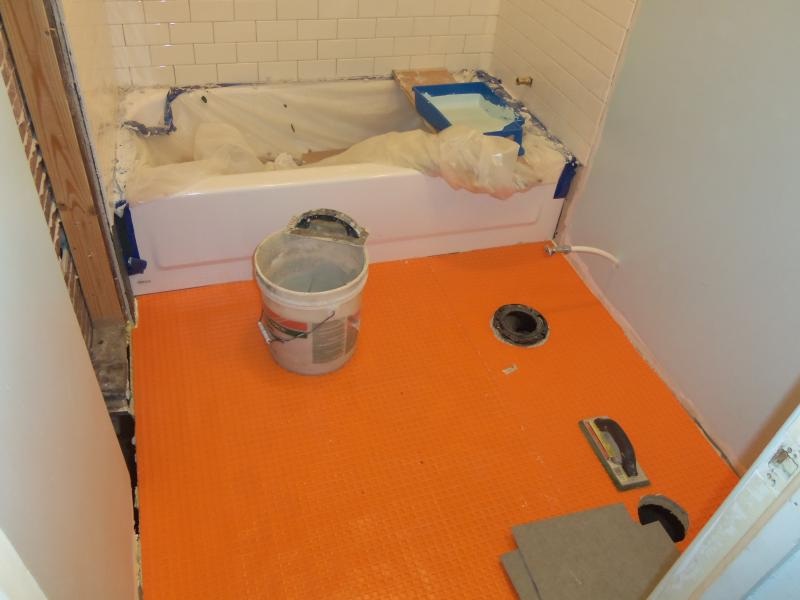
Then comes the Ditra.

And the finished, grouted tub surround.
|
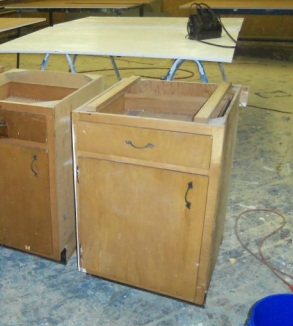
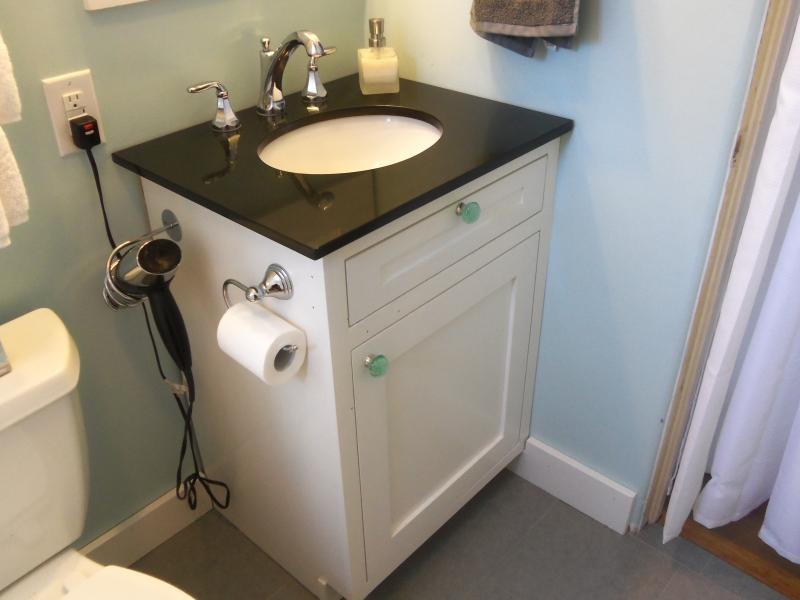
This somewhat sad-looking, vintage kitchen cabinet, with a bit of carpentry and paint, made a good-looking vanity. A $75 granite top from Craigslist, some new doors from BarkerDoor.com, some green bubble glass knobs from ebay, and a few other chrome accessories dressed it up nicely. We later swapped out the vanity top for soapstone, because the one in the photo above scratched too easily.

|
The medicine chest was fabricated completely out of recycled wood from the dining room paneling we tore out. It was constructed as a simple box with a face frame. The door was purchased from BarkerDoor.com, and the mirror inset from a local glass fabrication shop for an additional $26. Bubble glass knobs from ebay. 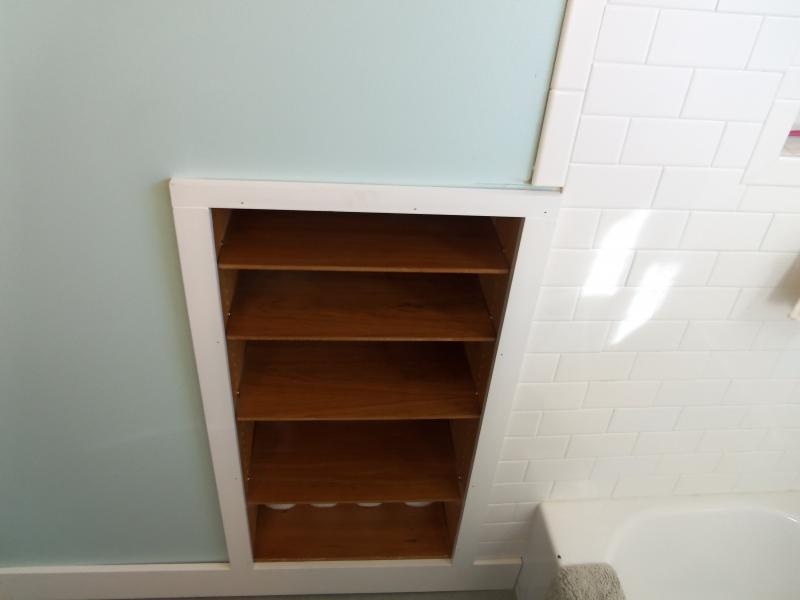
|
Time to address the odd hole in the wall. We cut through the plaster on the other side of the opening first. This will back into the future closet in the bedroom. We then set in a custom-built cabinet: a 3/4" plywood box with shelves made from the $3 CL blanks. The dimensions are about 19" wide x 40" tall x 15" deep: a hugely useful addition to our tiny bathroom.
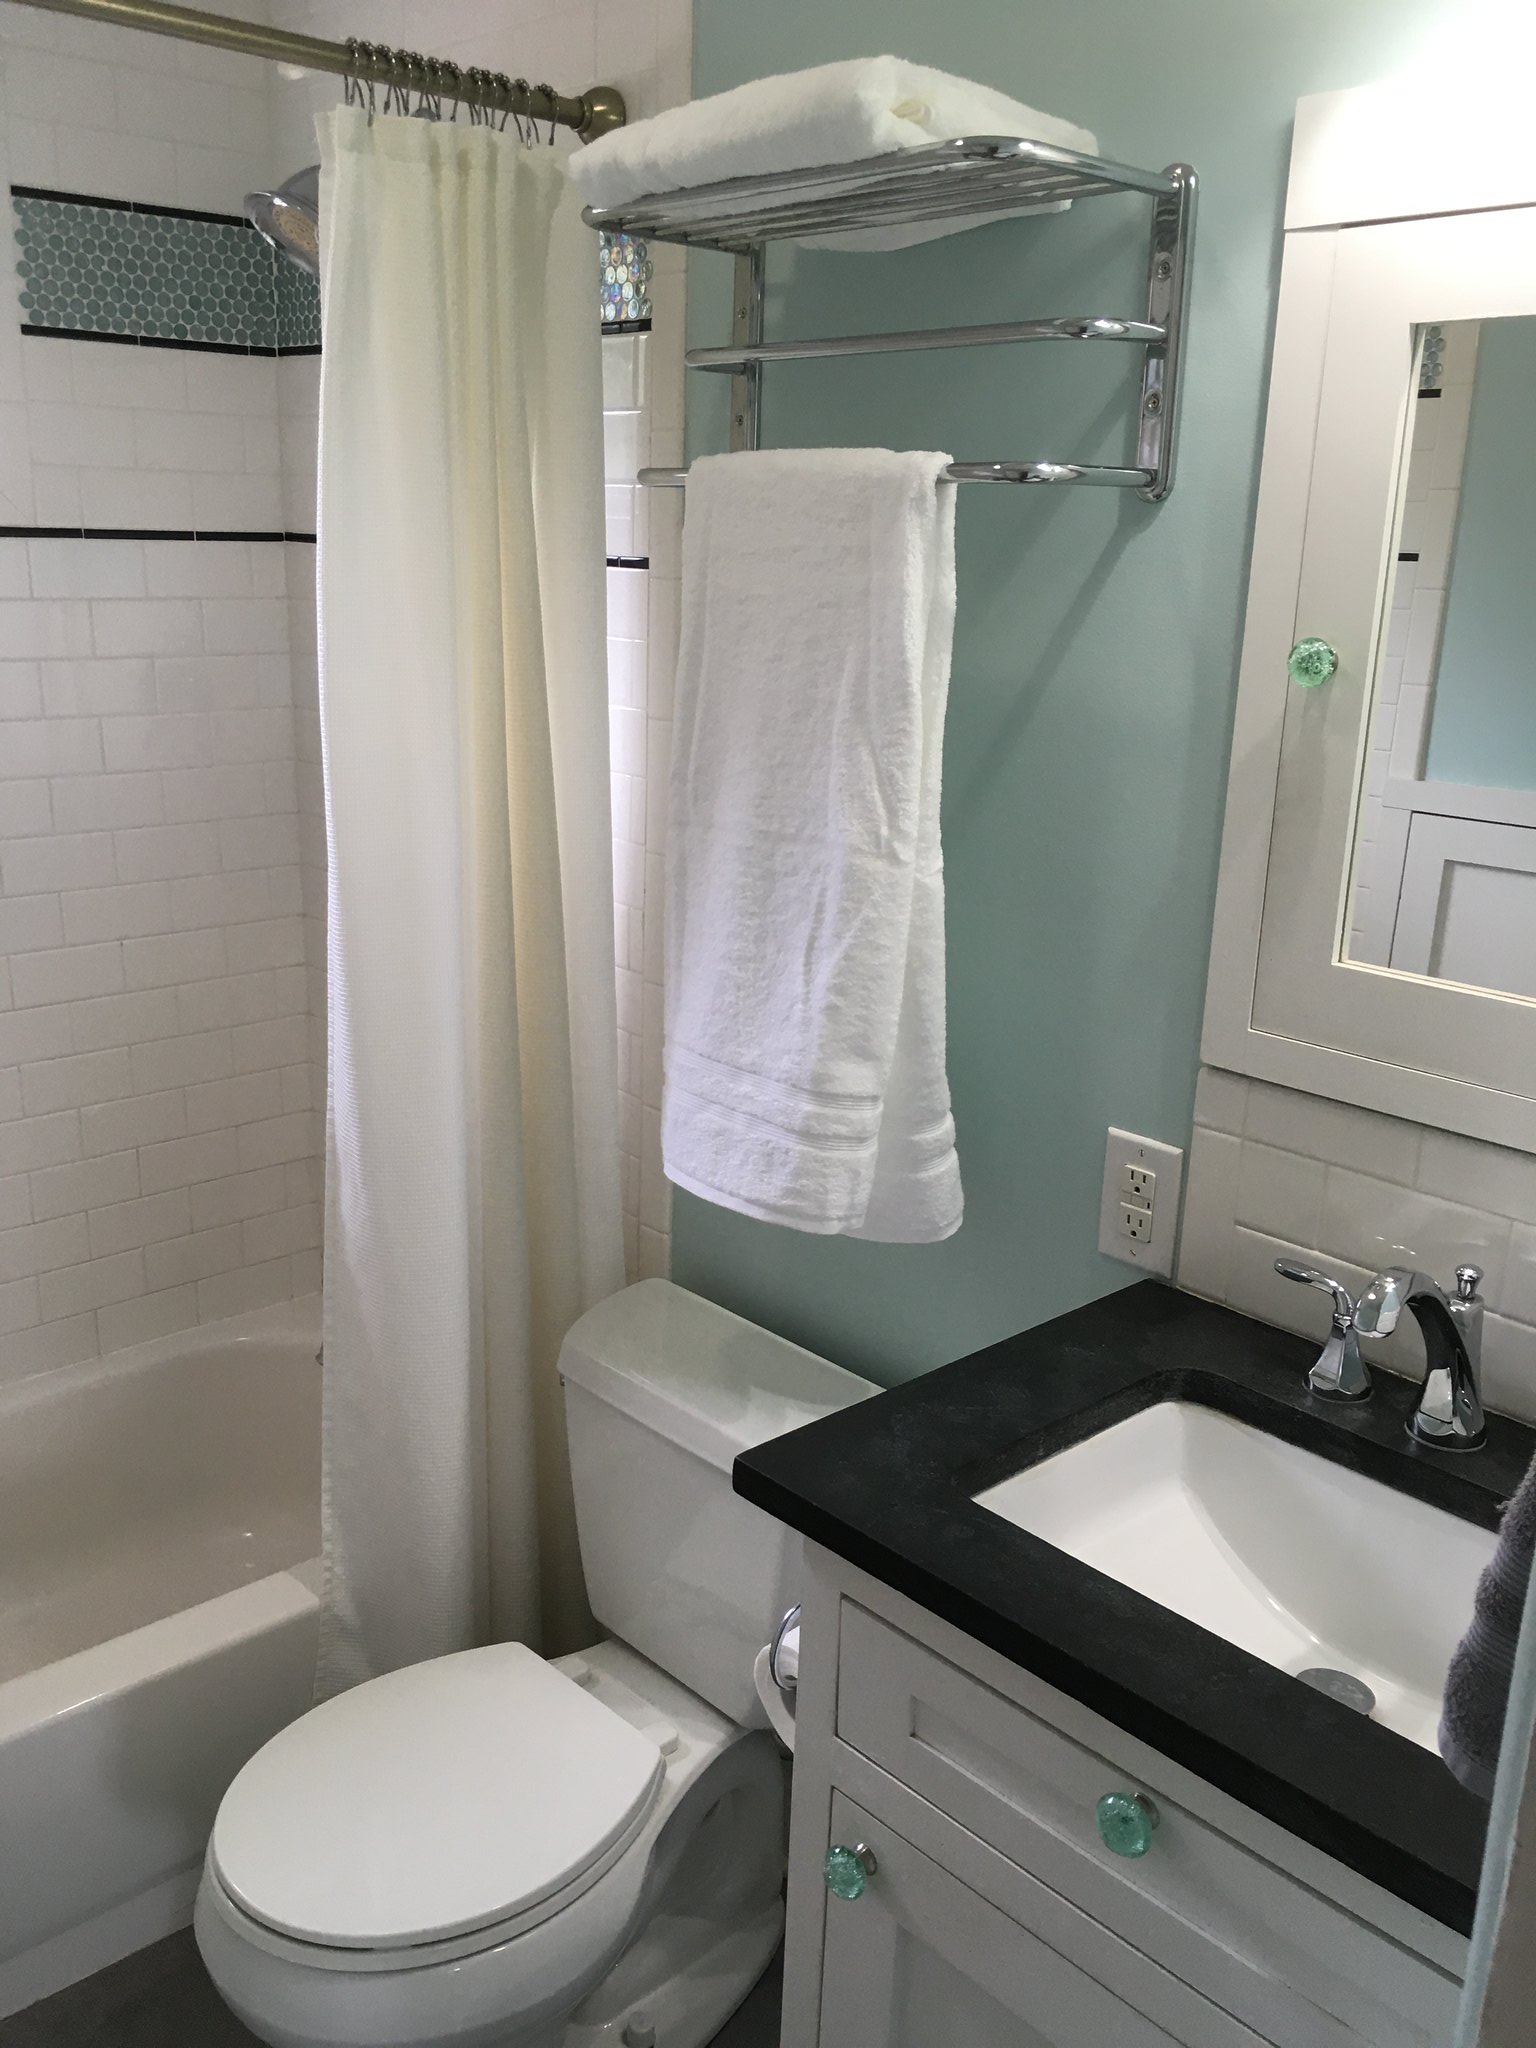
The After...