Bedroom #1
The Before...
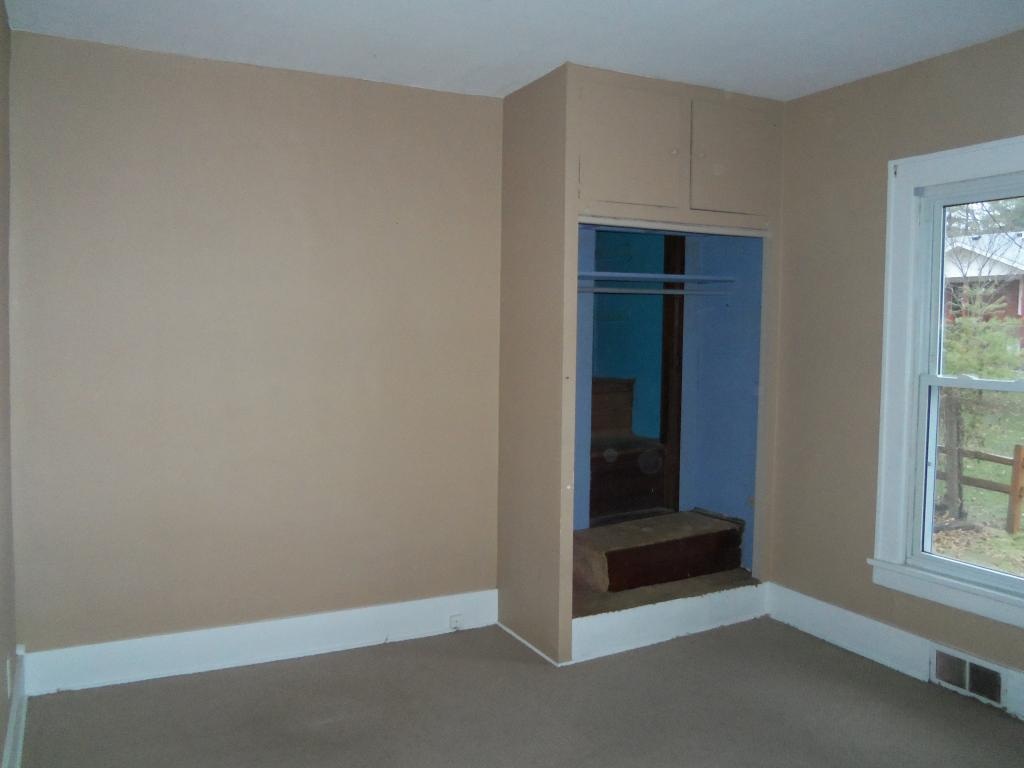
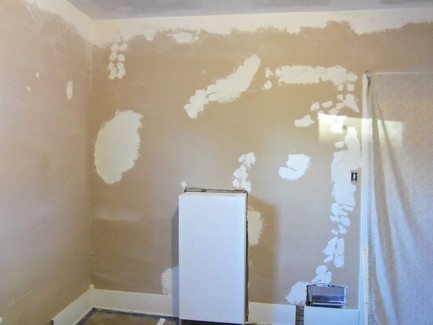
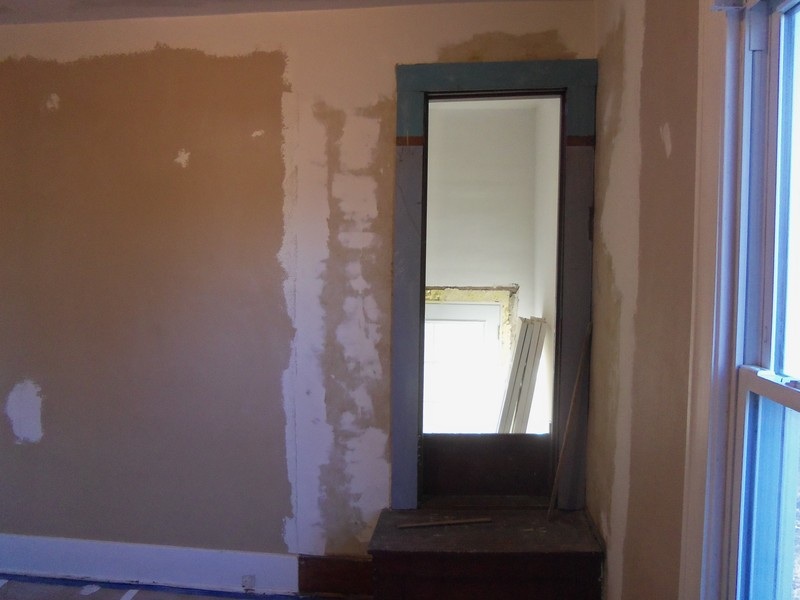
The back bedroom is a small 11'x11' and has a tiny closet with an odd set of stairs to nowhere. Really. No attic access or secret doors, just a couple steps out the back. Behind it are the basement stairs, so they actually impede into the stair overhead.
|
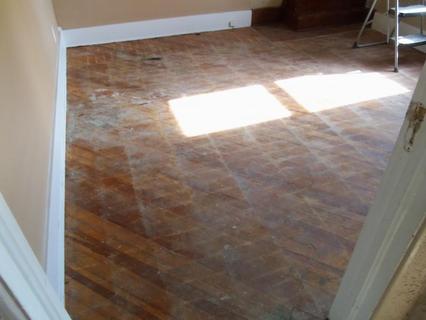
Wood floors here too, but at some point had glue-down flooring, so refinishing may be challenging.
|
The Plan...
|
Remove carpet and refinish wood floors (if unsalvageable, we'll recarpet)
Tear out existing closet and build a larger one on the opposite wall here Paint walls (plaster all appears to be in good condition) Replace electrical (wiring, outlets) |
|
The demolition...
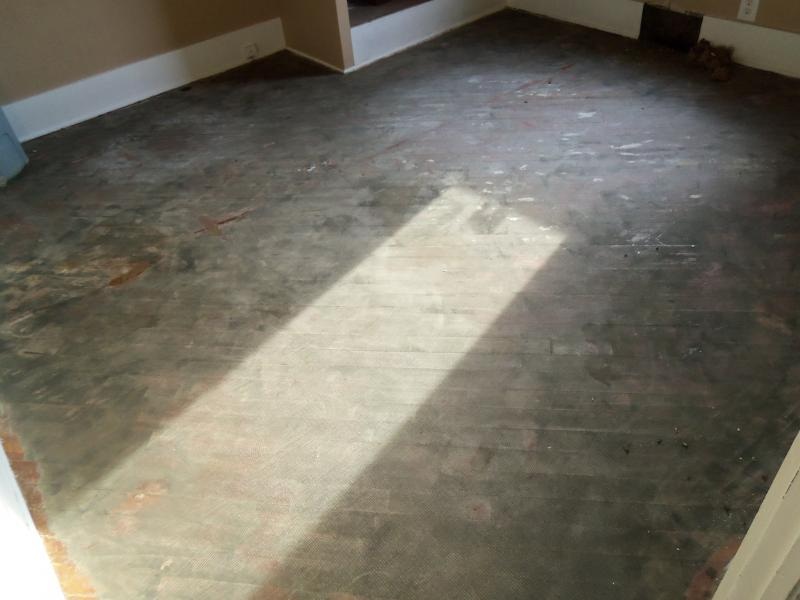
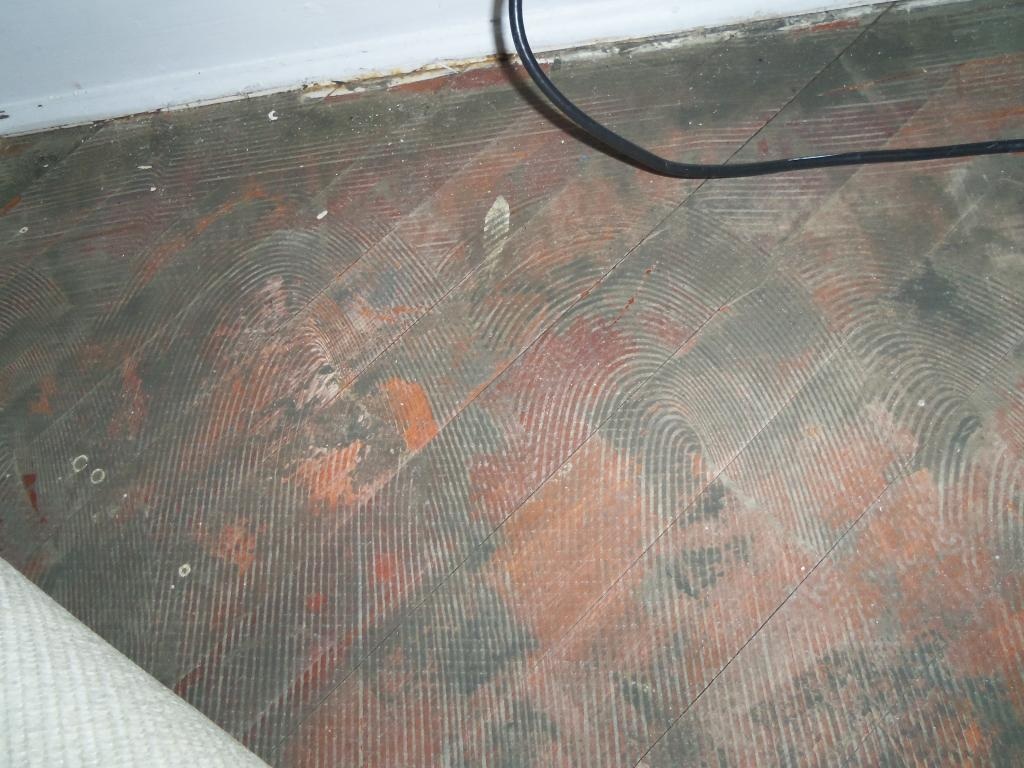
This flooring was the easiest demo: no tack strips, no pad, just roll it up and cart it out. Lots of old cutback adhesive to scrape off, though.
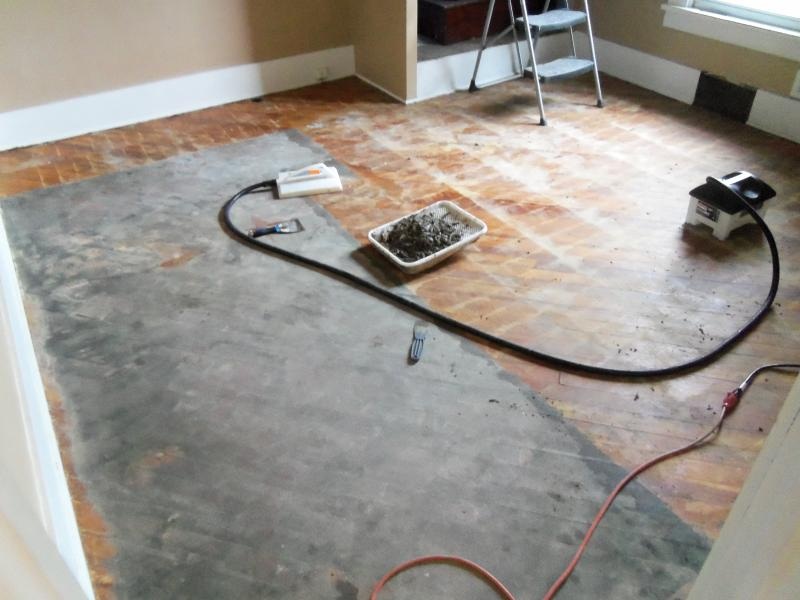
Progress was slow but effective.
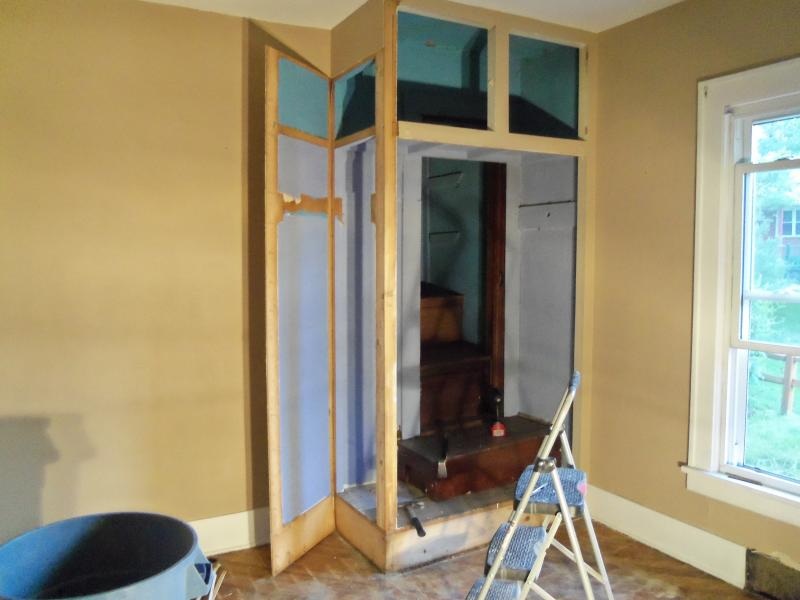
Then it was time to tear out the closet in the corner.
Fortunately the wallpaper steamed off pretty easily.

Attention now turned to the walls and ceiling. The ceiling plaster was starting to pull off in places, causing bumps, so we opted to just sheet it in 1/2" drywall to get back a smooth finish.
|

A $50 wallpaper steamer did the trick to soften the adhesive. Best results came from moving the steamer over 4" at a time, every 45 seconds or so, and scraping the newly softened adhesive off with a putty knife.
All done.
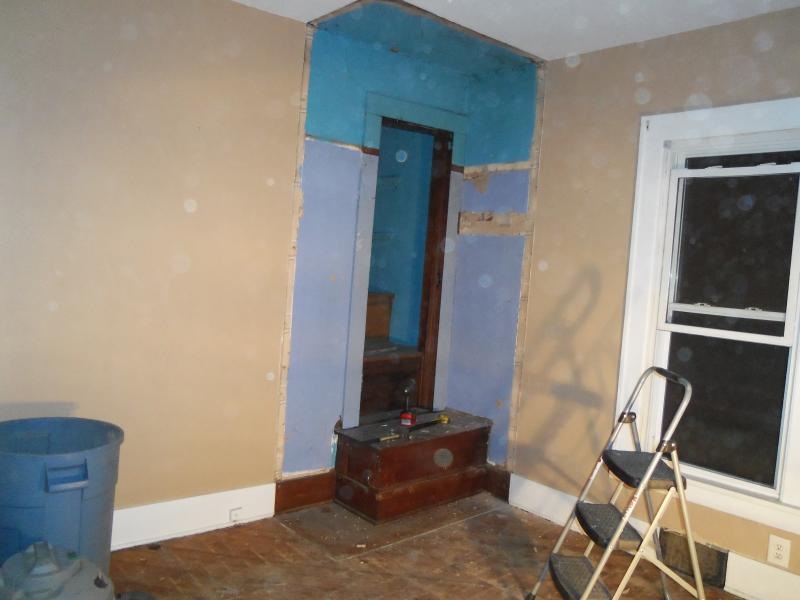
It revealed the original baseboard finish and showed the original closet it was covering. The garish paint was on top of 3 layers of wallpaper. Yes, the inside of the closet was wallpapered...3 times!
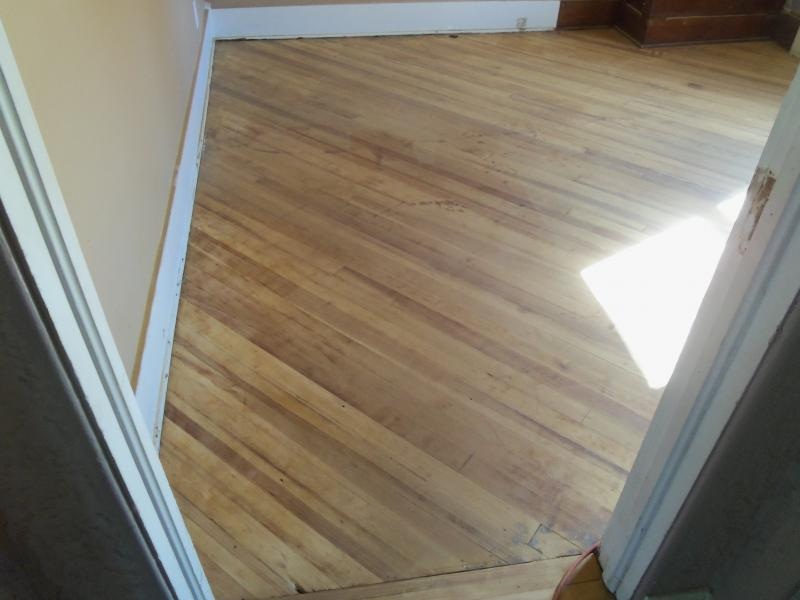
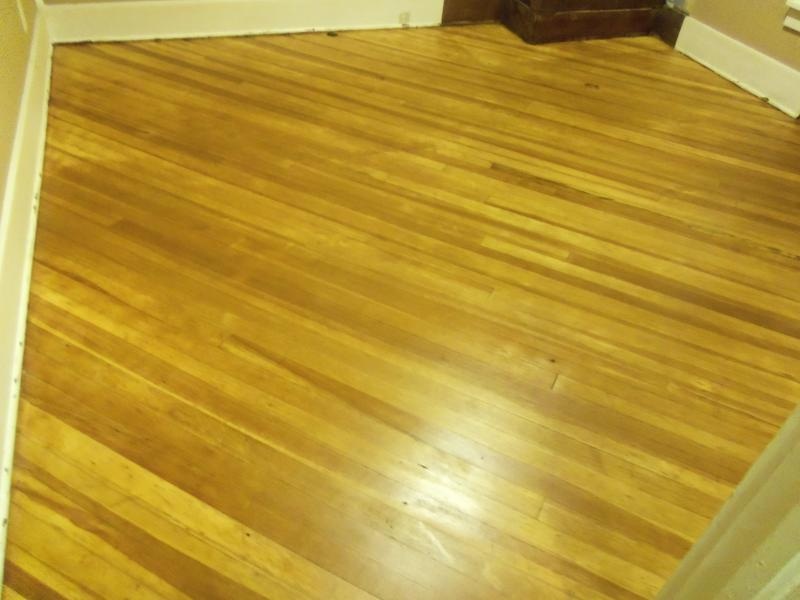
Finally came floor refinishing day (see Living & Dining Room tab for most of the gory details). This is after several million passes with the floor sander and a hand sander hitting the low points in the lower left corner. Slow work....
But eventually we got our restored, character-filled floors.
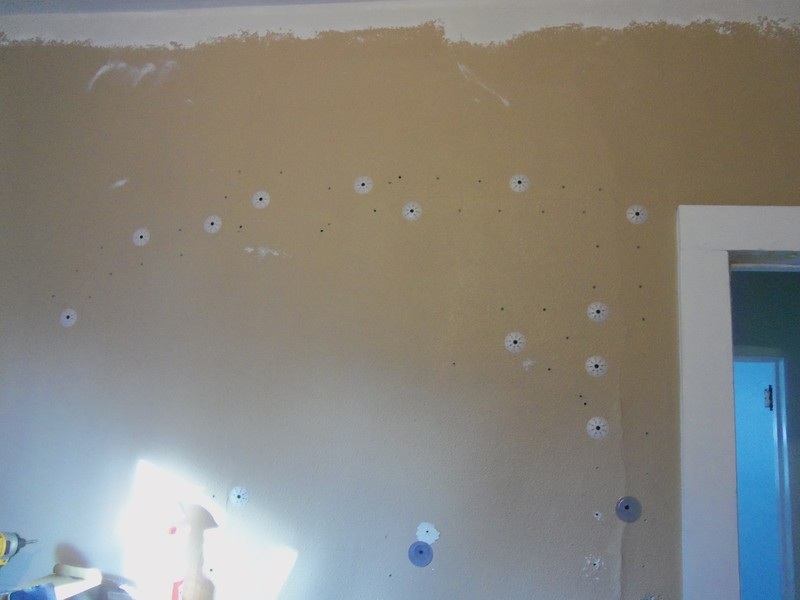
The walls had lots of cracks, so we used Big Wally's Plaster Magic to repair. It's pricey stuff, but pretty simple to use:
|
After all the mudding, we had some uneven textures on the wall, plus the old closet interior wall was smooth. So, even though we're not orange peel fans, we bought a couple cans of spray-on orange peel texture and evened out the textures.
|
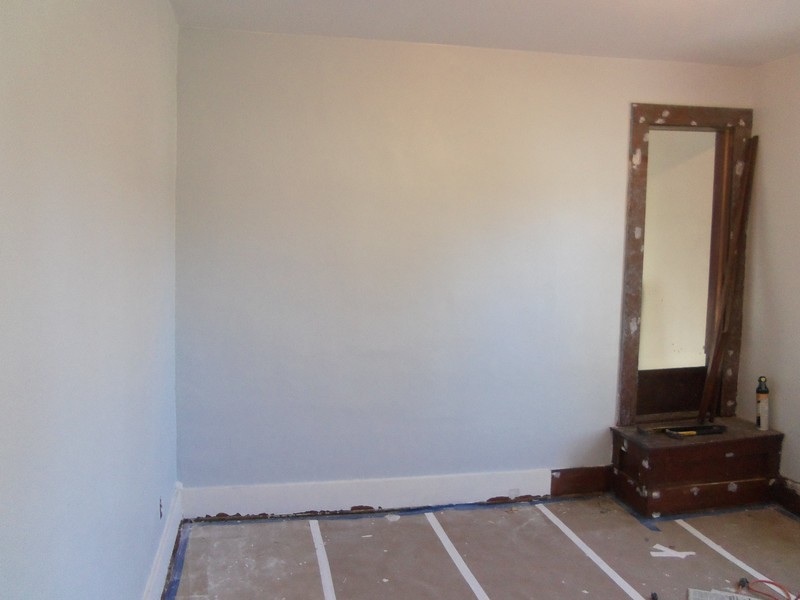
After a coat of primer and paint, they looked not-quite-like-new-but-good-enough-for-a-100-year-old-worker's-cottage. We opted for the same color as the other bedroom. We also painted the trim and replaced the shoe molding, as it had too many coats of chipping paint to be worth cleaning up to smooth.
|
|
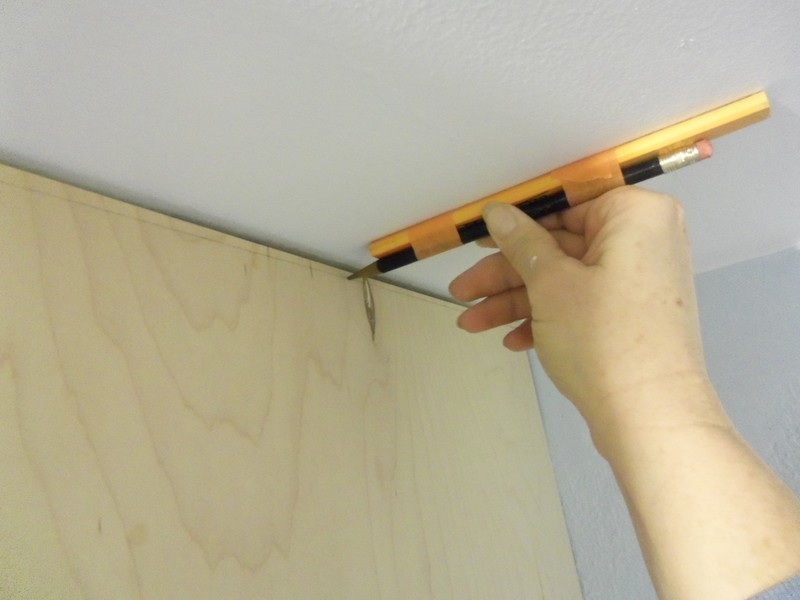
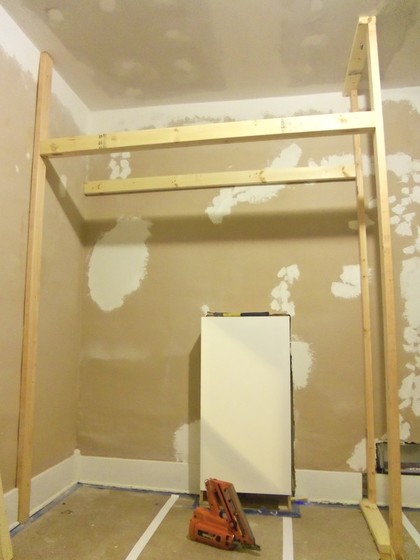
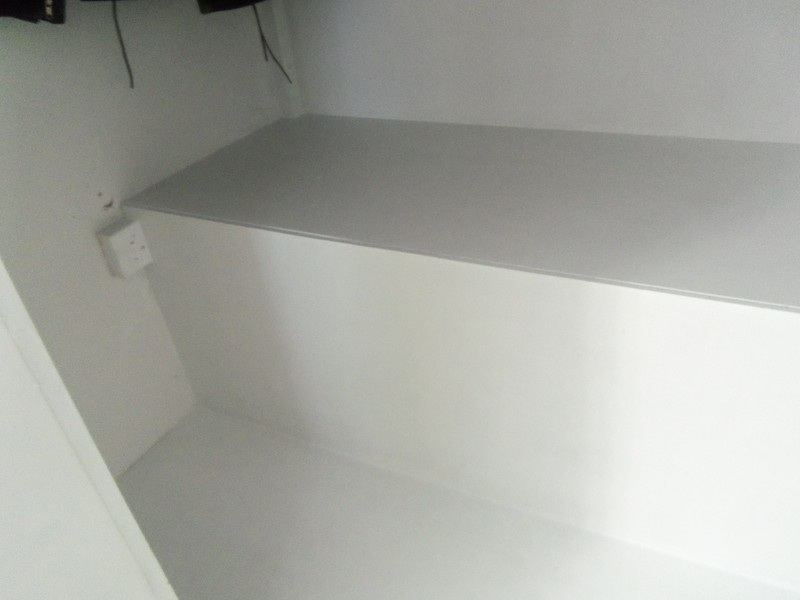
We needed to replace the small closet with a larger one on another wall, so we framed it with as little bulk on the frame as possible, to maximize the interior space. This included sheeting the side with 1/4" plywood, scribed to nestle into the sloping ceiling.
|
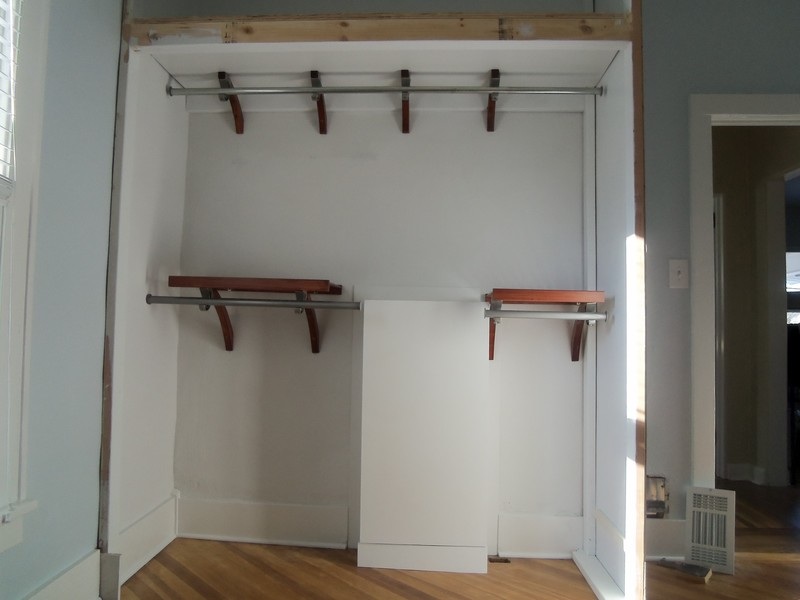
Then we installed double hanging rods, using John Lewis Home leftovers from the closets in our last home (=free!!).

And finally some trim, from the stash of $1 boards I got from a demo-er on Craigslist.
|
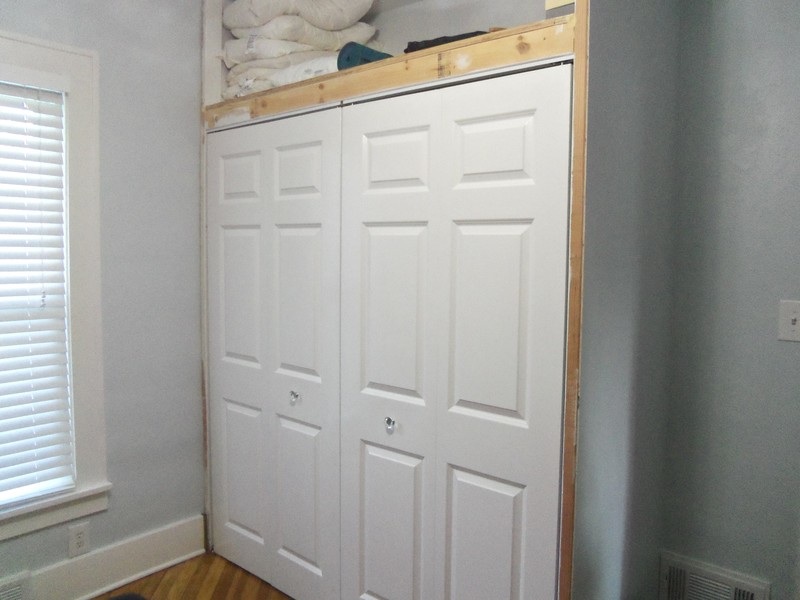
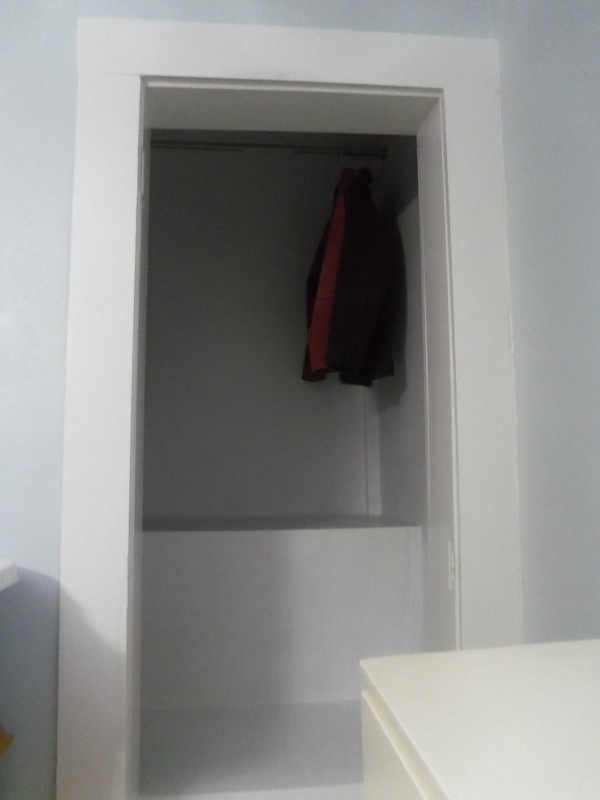
Bifold doors courtesy of my brother (thanks A9!) helped keep the cost down. Glass knobs give it a vintage feel.
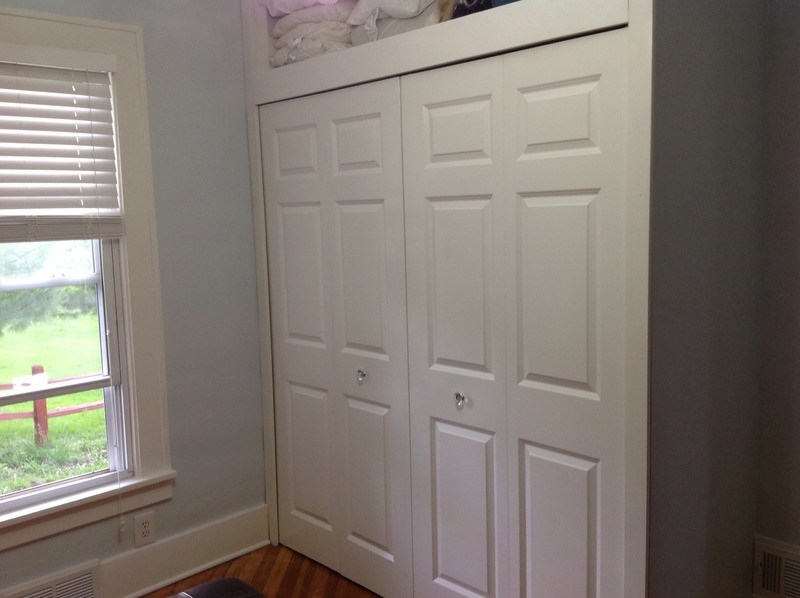
And (coming soon) a curtain to match the one in the bedroom to conceal the upper storage inexpensively.
|
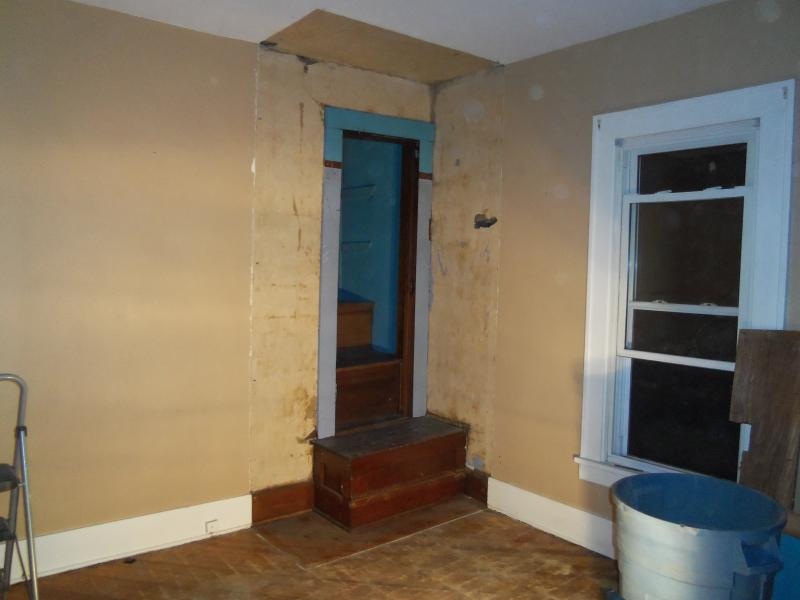
The interior of the step closet was now wider than it originally was, a result of our basement stair widening project. We added some "treads" and "risers" plus a rod up top to store winter coats. Every extra inch of space is valued in this tiny house. Future plan is to build a bookcase in the opening that conceals the closet and swings open to provide access. It's a bit of a head-scratcher to figure out how to do it, because the doorway is seriously out of square.
|
|
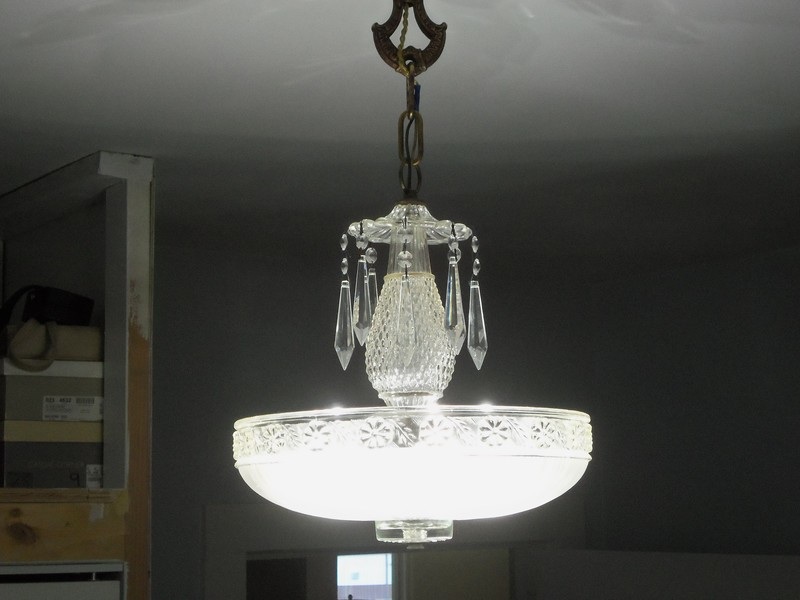
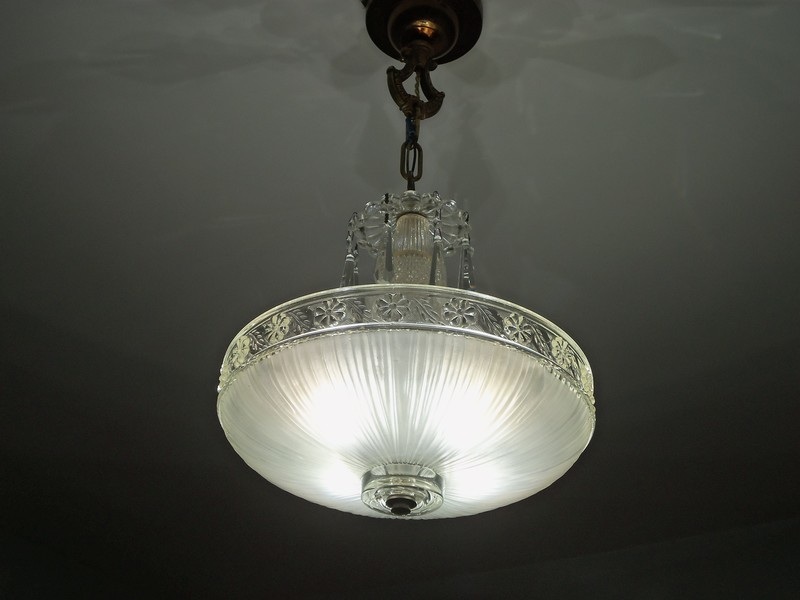
The piece de resistance: another restored vintage chandelier, made from a nearly complete salvage store light plus some parts from ebay.
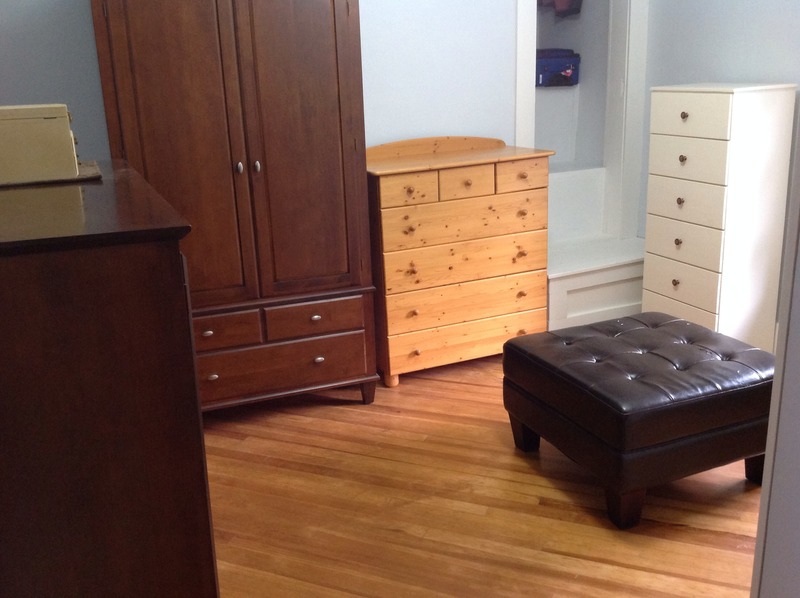
The furniture is a bit mish-mash, but it gives us a very functional dressing room, so we're good.
