Living & Dining Room
The Before....
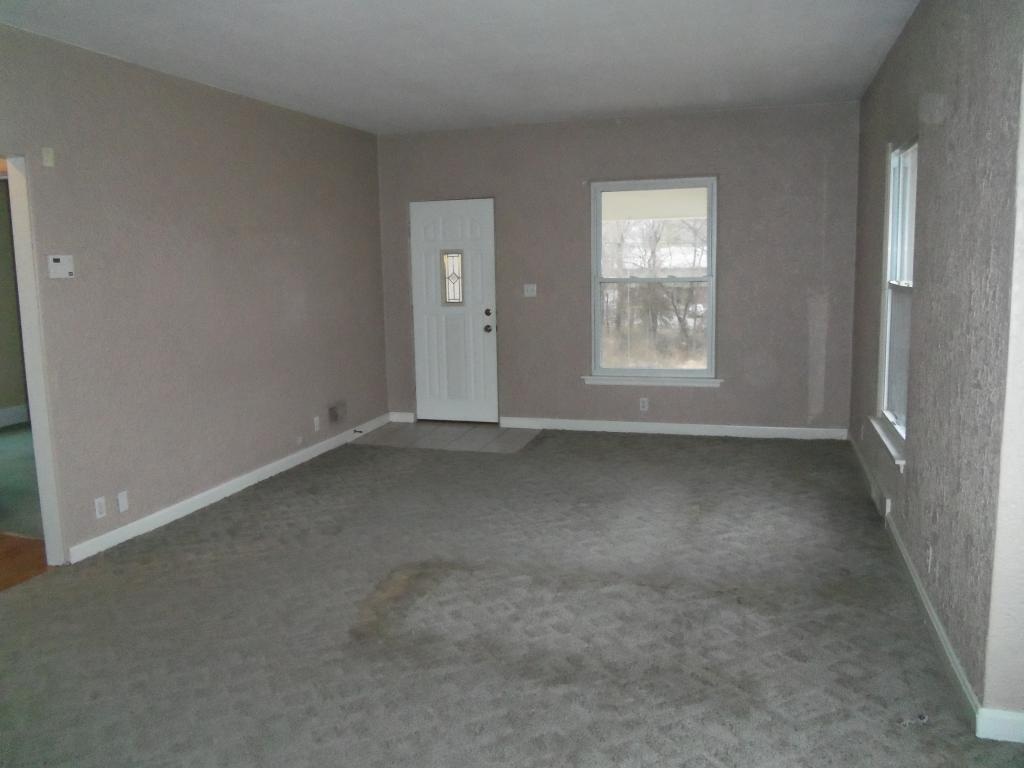
The living room started with stained carpet and a small tile entryway. Is there hardwood underneath?
We confirmed there's hardwood under the carpet, but it's hard to know the condition until we uncover the whole thing.
The walls have this moonscape texture. Our first thought was to smooth it out, but Gardenwebbers in the Old House forum insisted this was upscale for the period and we needed to keep it. So we'll paint it a more neutral color and see if it grows on us.
|
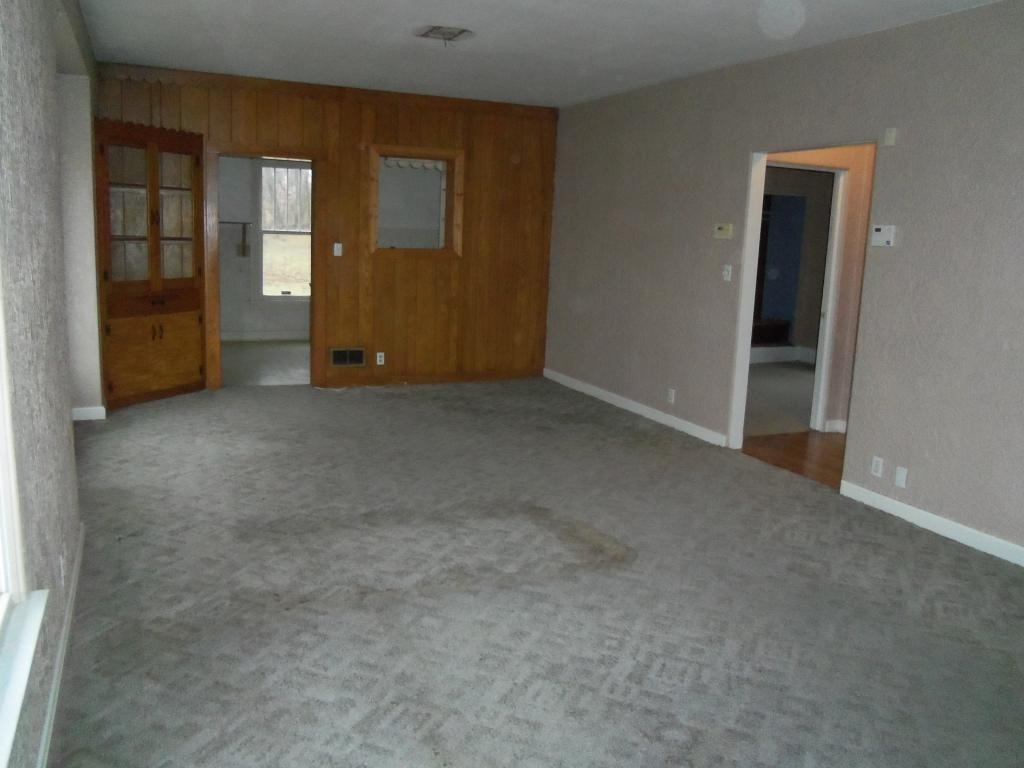
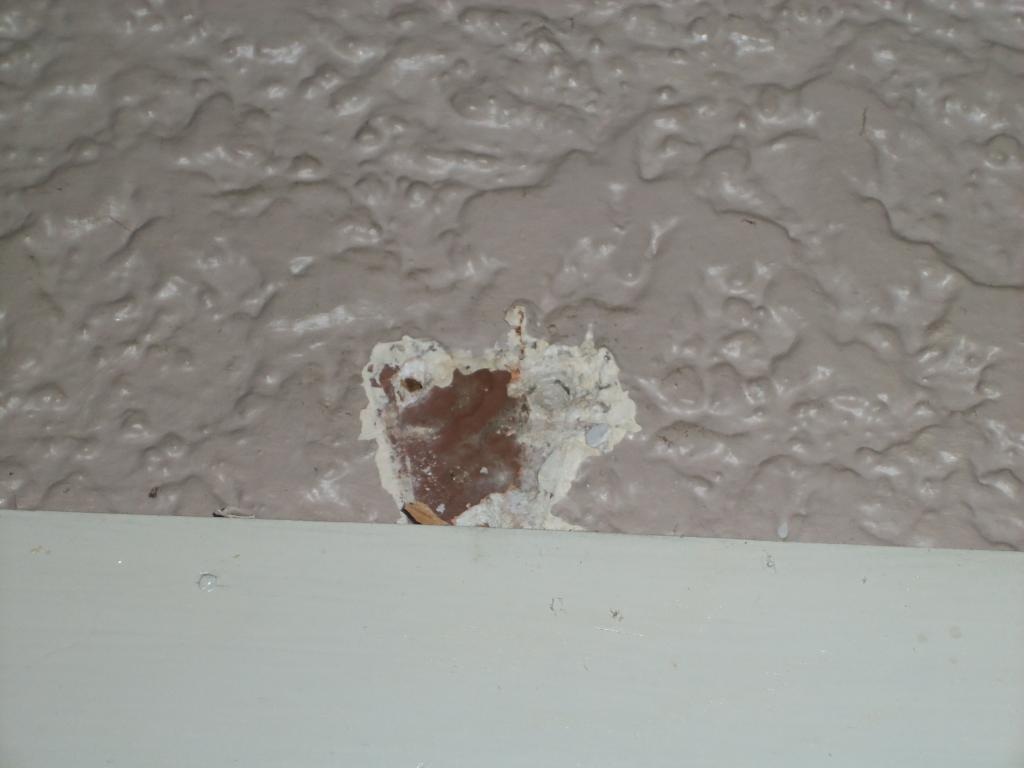
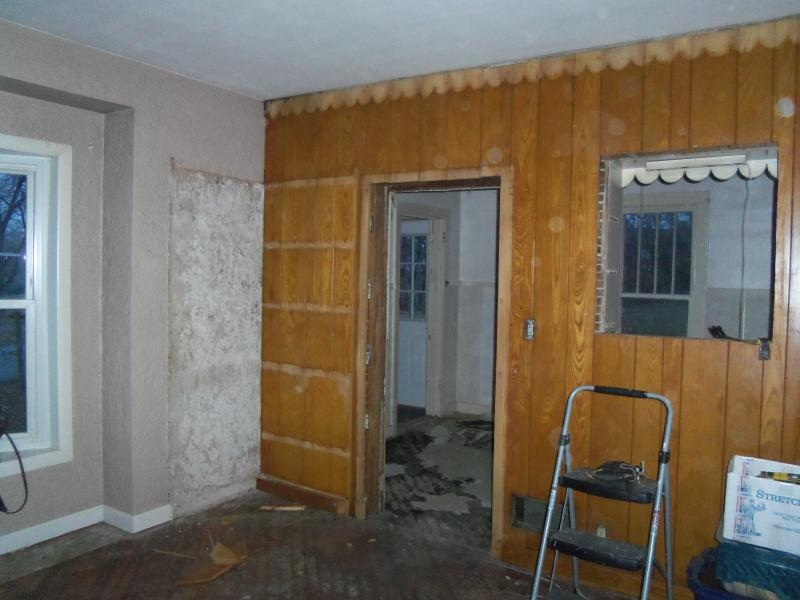
The dining room has a bay window, a paneled wall, and a built-in corner china cabinet. Those will have to go. What's behind the paneling?
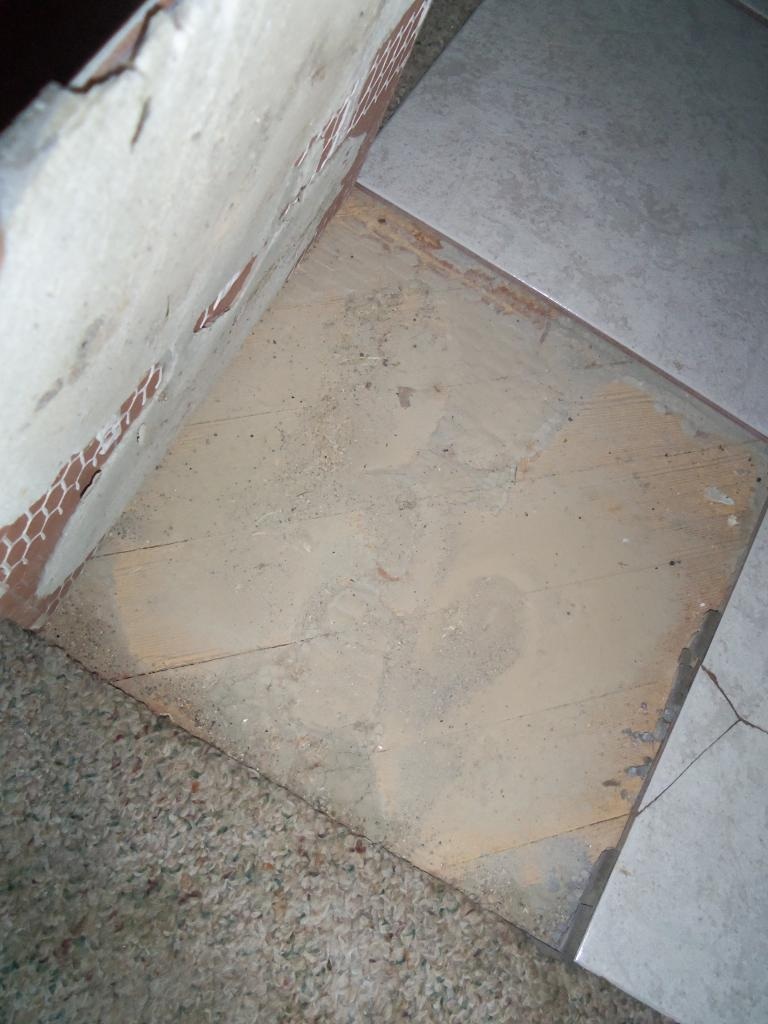
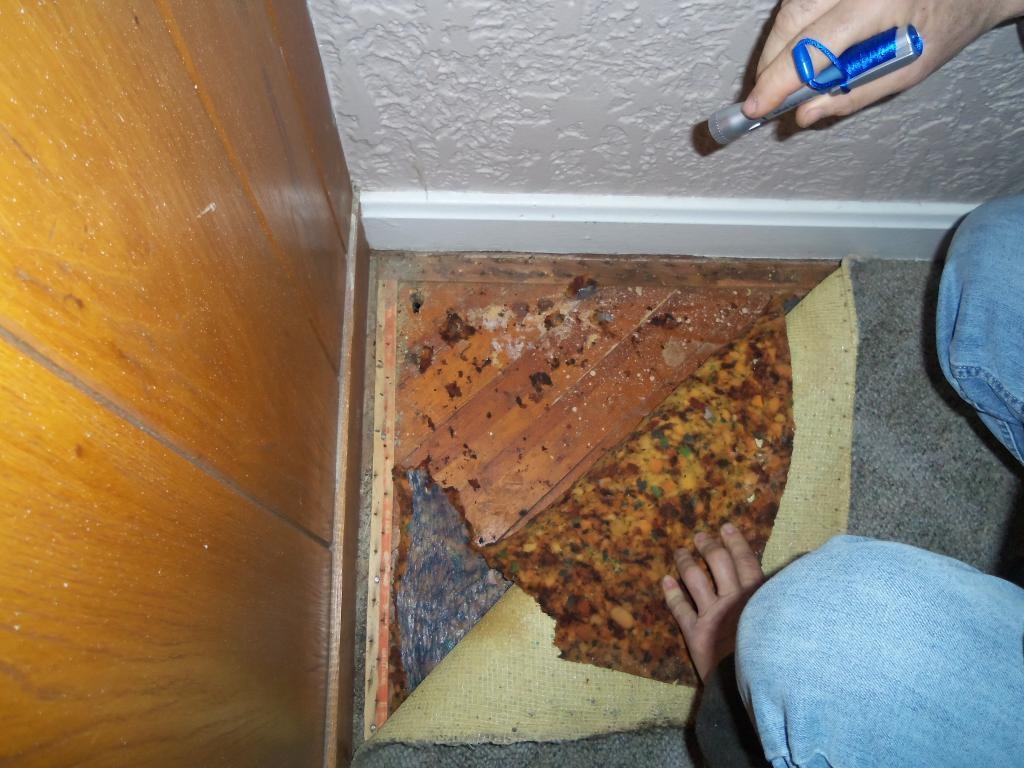
Under a loose tile in the entryway, it looks like the hardwood might have been painted.
|
The Plan...
Remove the carpet, repair/restore/refinish the hardwood underneath
Remove the paneling and the china cabinet (unknown potential wall repairs) and close up the window into the kitchen
Paint the walls
Install new electrical: wiring, outlets, lighting
Remove the paneling and the china cabinet (unknown potential wall repairs) and close up the window into the kitchen
Paint the walls
Install new electrical: wiring, outlets, lighting
The Demolition...
Out came the carpet and pad. Writing on the underside of the carpet indicated that it was installed in 1994. Good riddance!
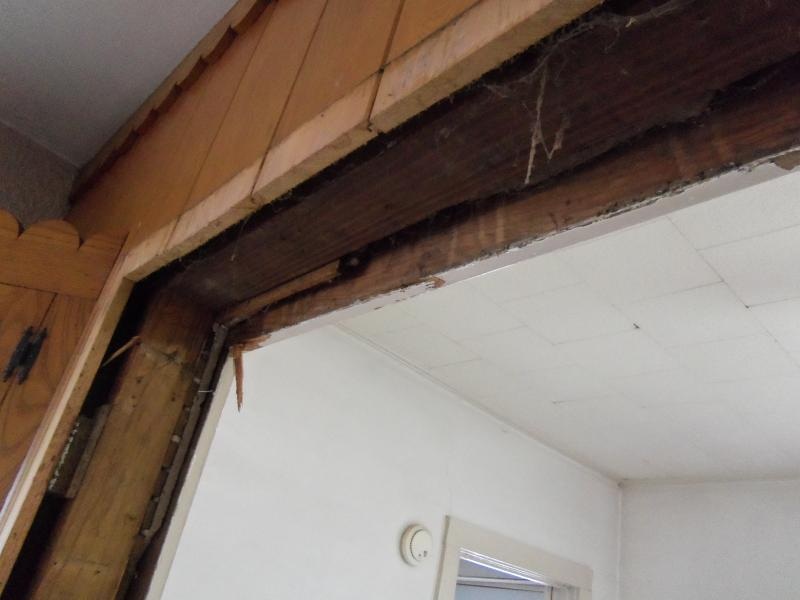
When we started tearing out the dining room wall, we found that it wasn't cheap paneling but 3/4" tongue and groove, with no plaster behind it. We don't care for the look, but it's well constructed. We'll disassemble it carefully, save this and re-use the wood elsewhere.
|
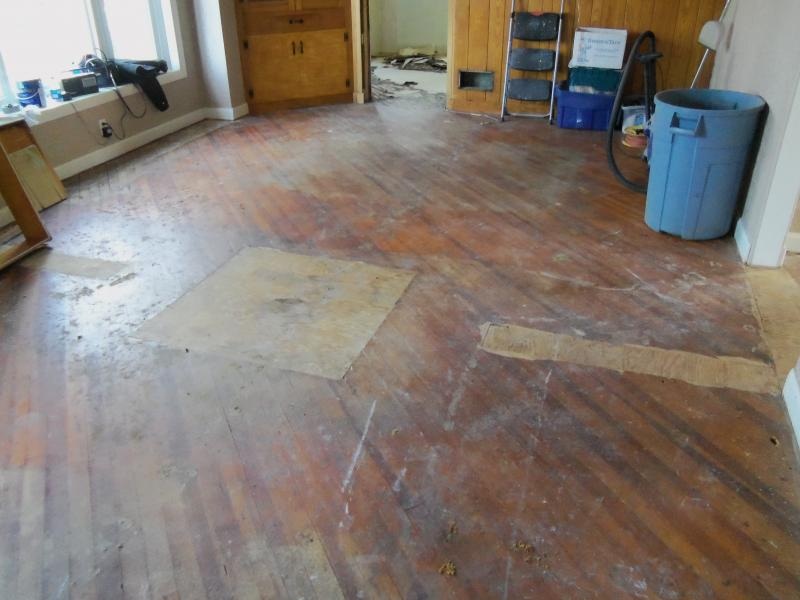
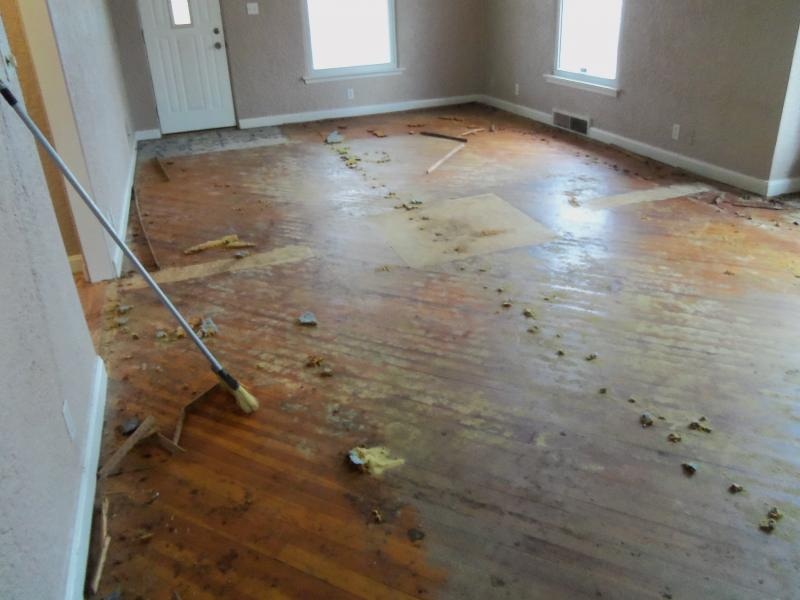
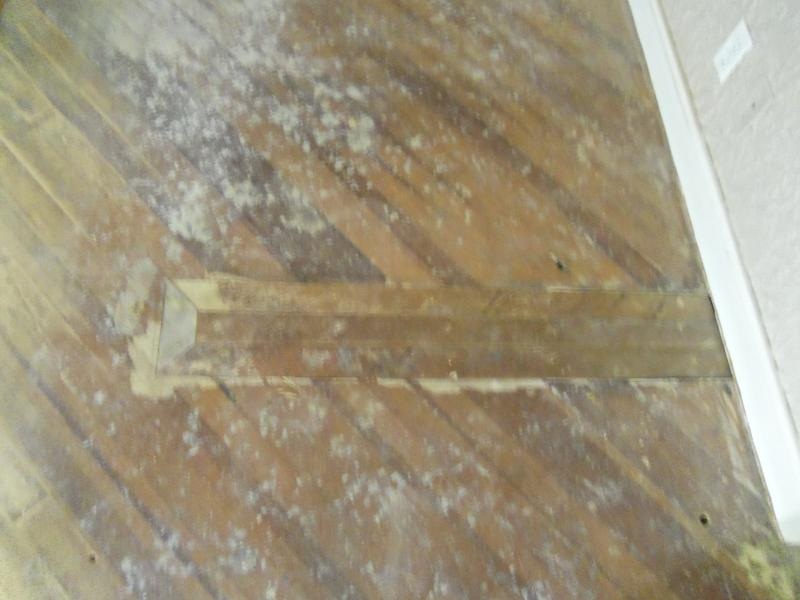
Alas, though most of the floor looked refinishable, there were 3 spots that had been cut out and replaced with plywood.
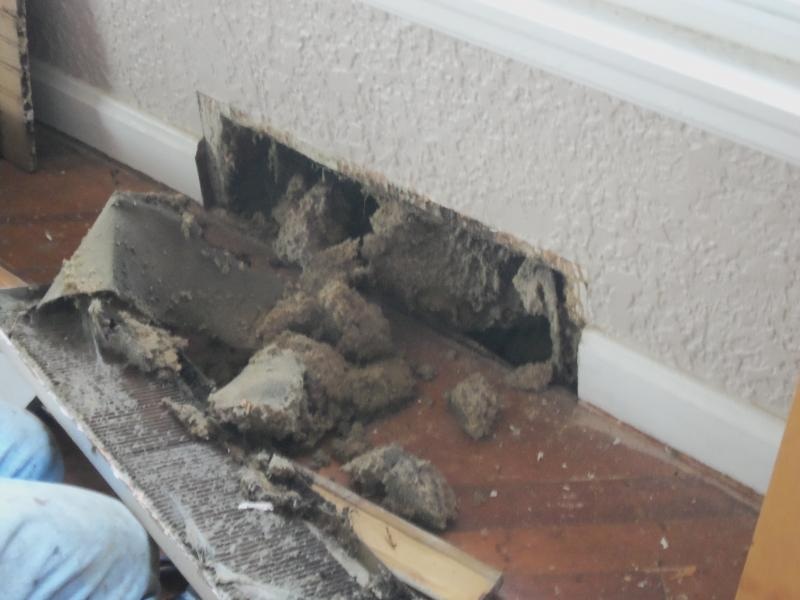
This was a strange find: We removed all the furnace registers and cold air return covers for recycling because they were old, rusty, and painted. All the cold air returns had insulation stuffed down inside them. Huh???
|
Out comes the cabinet, the pieces carefully preserved to make into shelving for elsewhere in the house.
|
The wall panels come off with some elbow grease and prying.
|
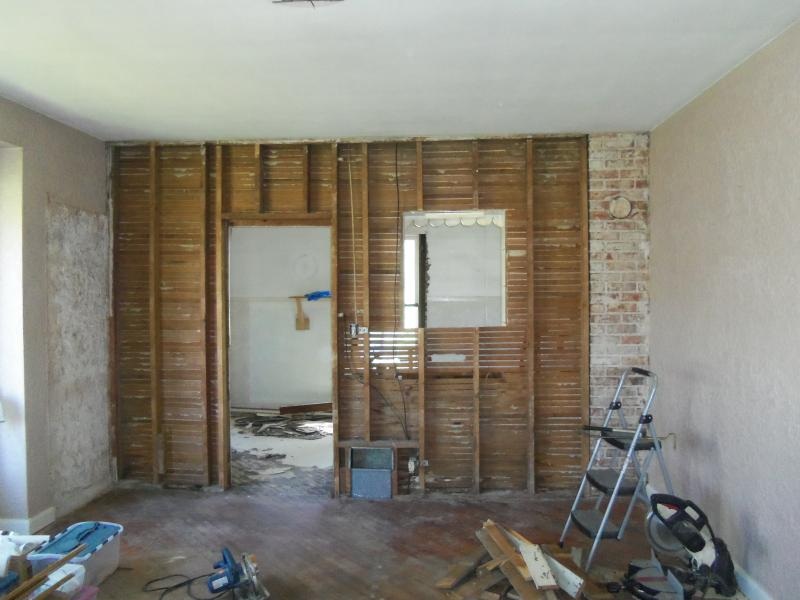
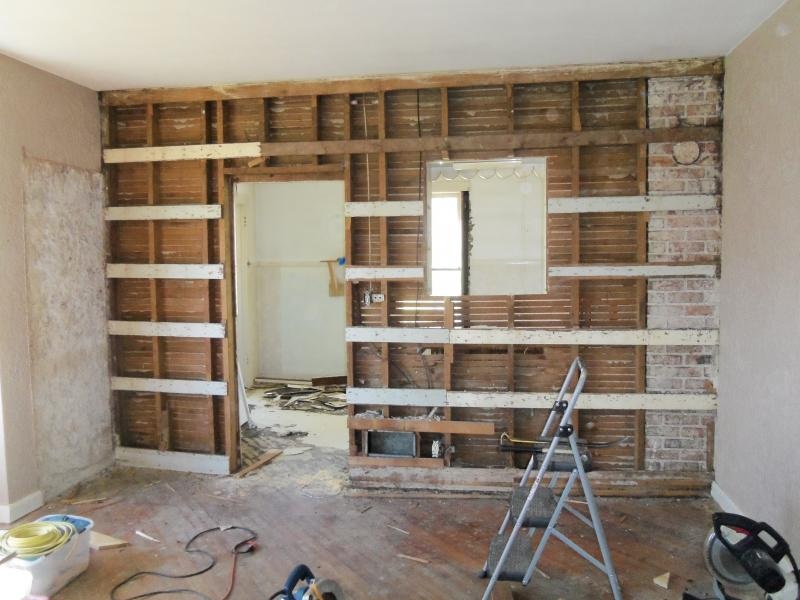
After all the shims and nailer boards are gone, we've got a clean slate to work with.
|
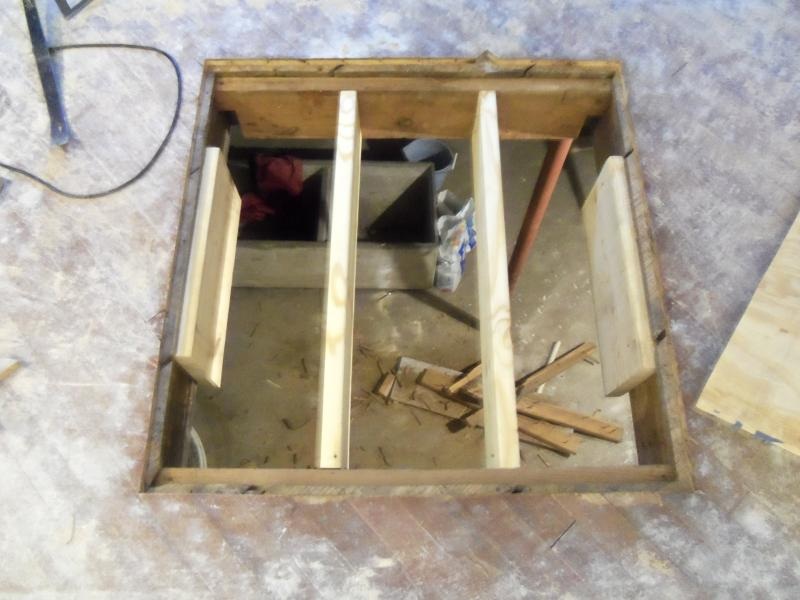
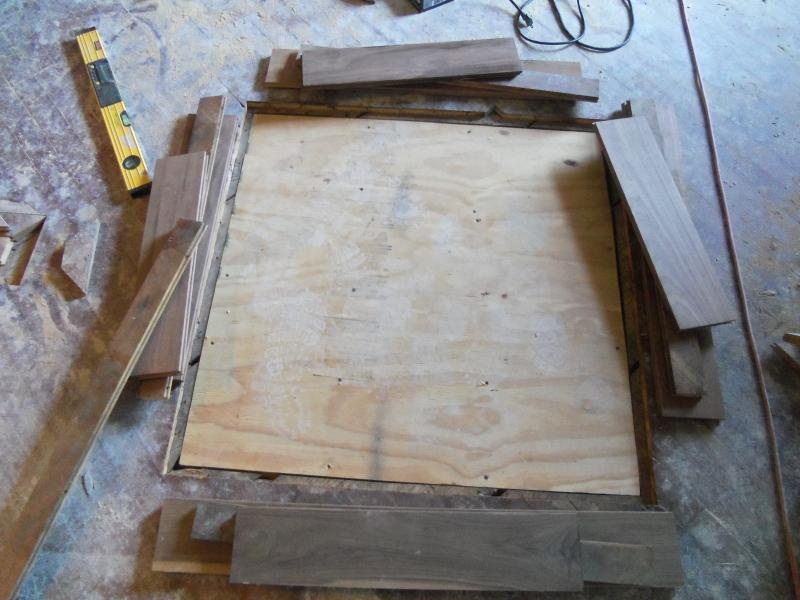
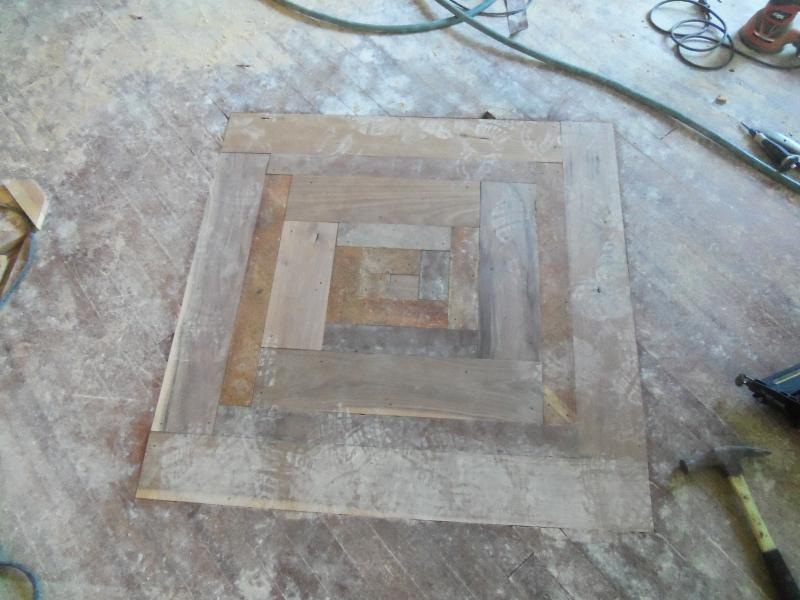
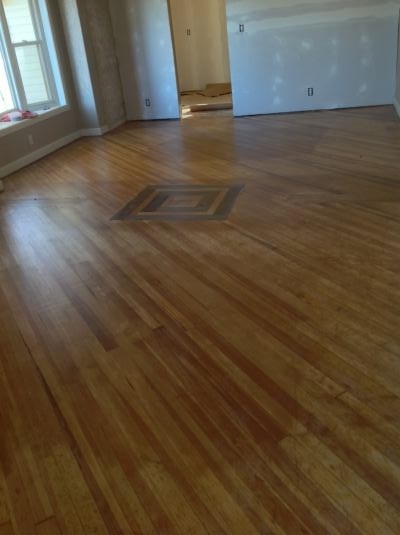
The plywood in the center of the floor opened up to the basement (no subfloor) evidencing that it was a covered-over opening previously fed by a coal-fired gravity furnace. We reframed out the structure below so we could set new plywood at the level of subfloor. Then we inlaid a mosaic of some walnut we had on hand and the original pine salvaged from the bathroom/hall demolition.
|
|
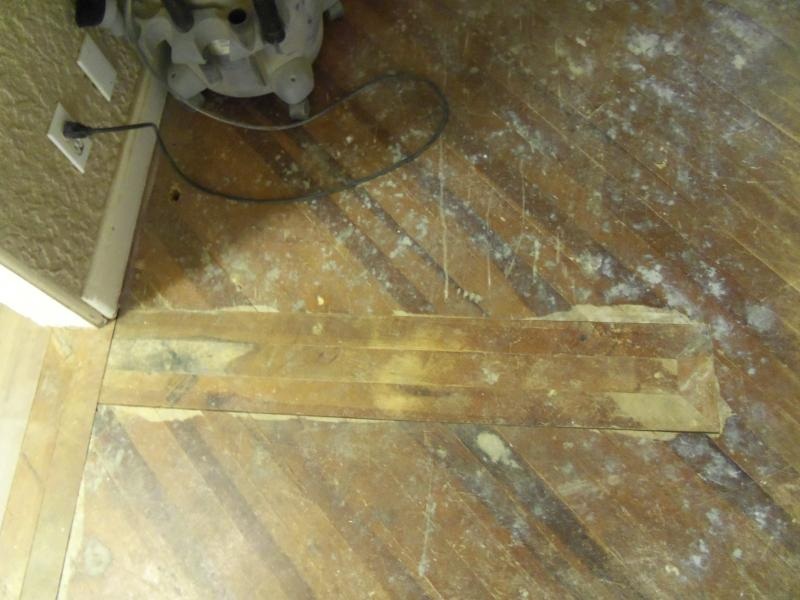
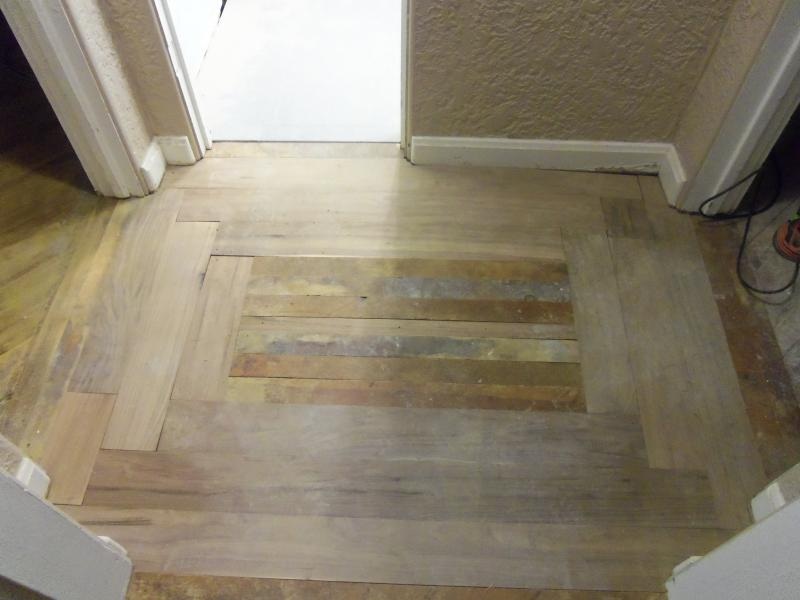
The plywood on the sides had subfloor under it. So we just trimmed the sides of the opening a little larger and then inset some salvaged pine flooring in a couple decorative insets.
We had grand plans to sand and finish the floors over the labor day weekend. Early Saturday we rented a floor sander and started work on the kitchen floor (see Kitchen tab for more info on that). On moving to the living area and bedrooms, the 20-grit sandpaper gummed up quickly with the floor residue.
We did some internet research, which suggested that we needed to use chemicals to remove the shellac. Denatured alcohol didn't work. Lacquer thinner appeared to, but once it dried, it turned out to only do so minimally. We went to 80-grit paper, moving faster to avoid heating up the finish, and after about 100 passe0s it started showing marginal improvement. We followed up with 40-grit on a hand orbital sander to get the divots out. S-L-O-W going. And no, we didn't get it done in a weekend. |
The hallway area was intended to be reminiscent of the living room inlay. We started with squared-off pieces at each of the 4 thresholds. So far so good. But then, as we moved toward the center with the spiral pattern, we realized the doorways weren't square to each other.
Dealing with that entailed painstakingly taper cutting a few of the walnut pieces on a table saw (not an easy, precise task) to ease out the off-squareness. That got most of it out, but the final center strip still had to be scribed/tapered. So there are some gaps we don't love, and close inspection reveals that it's not perfect, but we're hoping that sanding and finishing will obscure most of that. 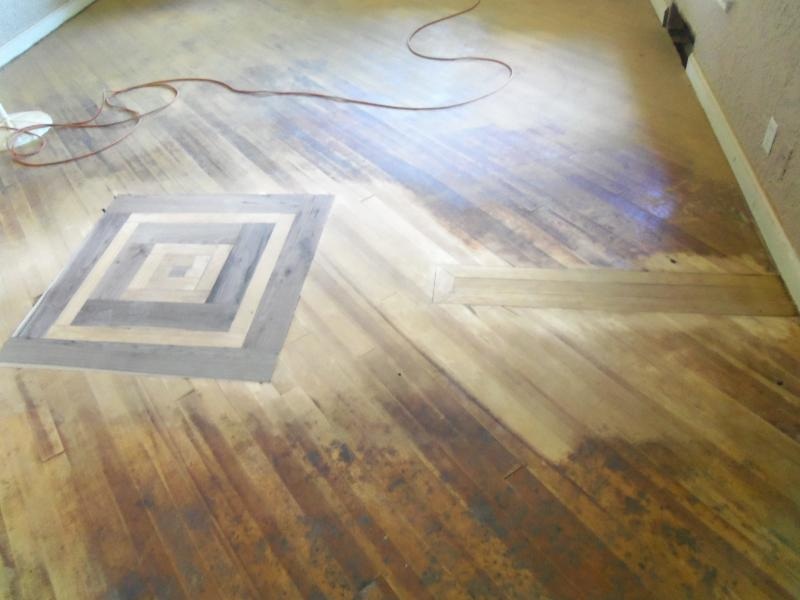
|
We decided that process would take us 2 more years, so we rented an orbital sander (basically a floor buffer with sandpaper on it) and that took off a bit more, but that stubborn lacquer/shellac stuff did NOT want to come off. What it finally took was a drum sander. Many people warned against using a drum sander on pine, but it worked and didn't chew up the wood. Its aggressiveness was just the ticket.
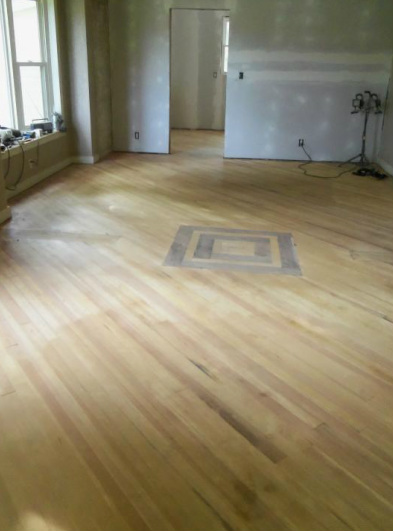
We then had to follow up with more orbital sanding to smooth it out. In the living/dining room, there were some patches that just determined to be different colors despite incessant sanding, so we call it character. If you look at the original photos when we pulled up the carpet, the darker areas here are the areas where the shellac had worn off.
We sealed with Bona Sealer (no stain, wanted natural) and 3 coats of water-based Bona Traffic. Expensive, and fairly noxious, but it's what the pros use and we wanted durable after all our efforts. Perhaps they can go another 95 years without someone having to experience the pain we did. :-)
|
|
A fresh coat of paint (SW Wool Skein) on the walls lightened up the room, though it was a pain to paint the moonscape texture. We also repainted the ceiling, window trim and baseboards and added shoe molding.
Here's a view of the living room fully furnished except for curtains.
Here's a view of the living room fully furnished except for curtains.
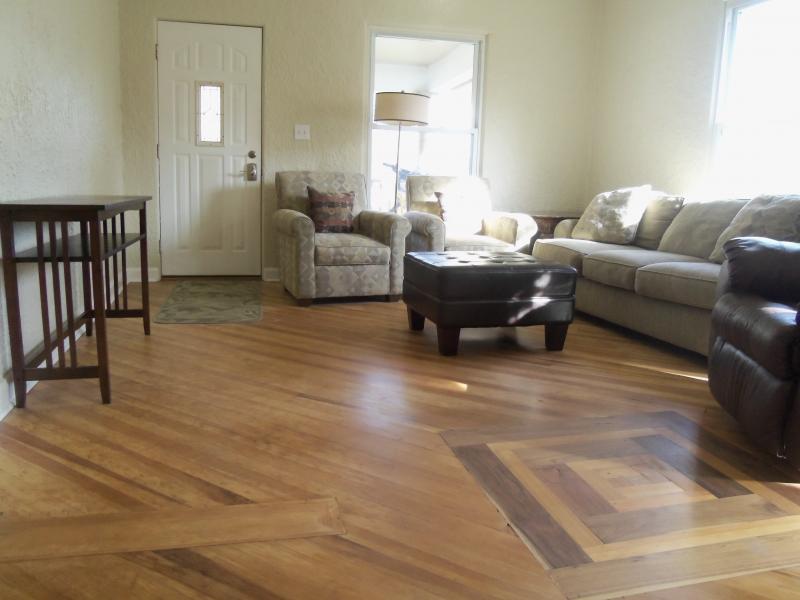
On the dining room side, we painted the formerly paneled wall, and then added columns and crown molding because we couldn't figure out how we'd ever be able to tie in flat drywall to moonscape plaster.

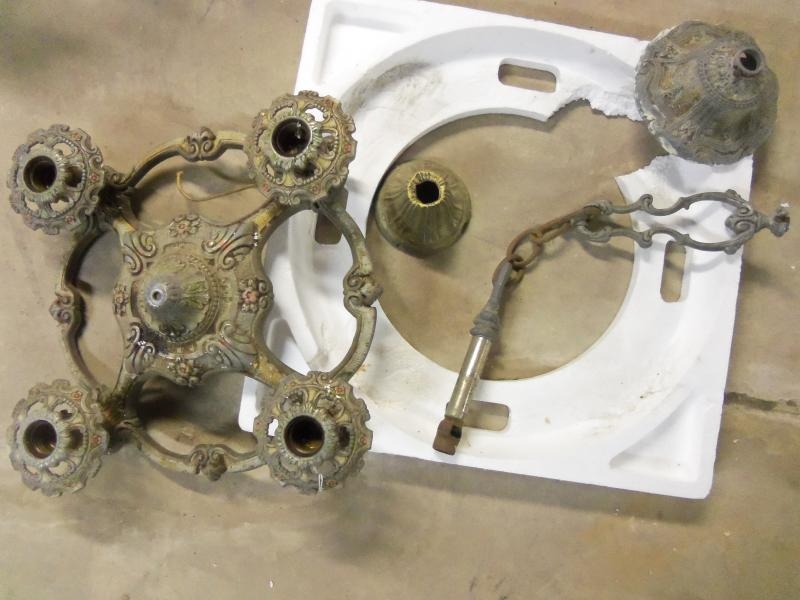
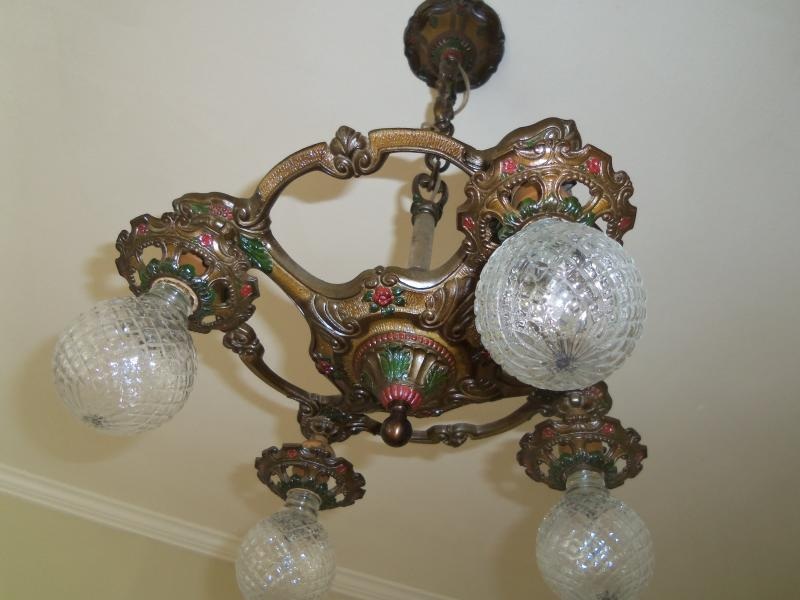
The dining room chandelier was a restoration project. It's a cast aluminum polychrome fixture we bought it for $40 on ebay, and with elbow grease, acrylic paint, and gold-tinted lacquer, turned it back into something close to how it came from the factory. See the Light Restoration section for more details on this transformation.
|
|
